
Sturgis Motorcycle Museum Calendar
Sturgis Motorcycle Museum Calendar
A unique shoot turns into a learning experience
A unique shoot turns into a learning experience
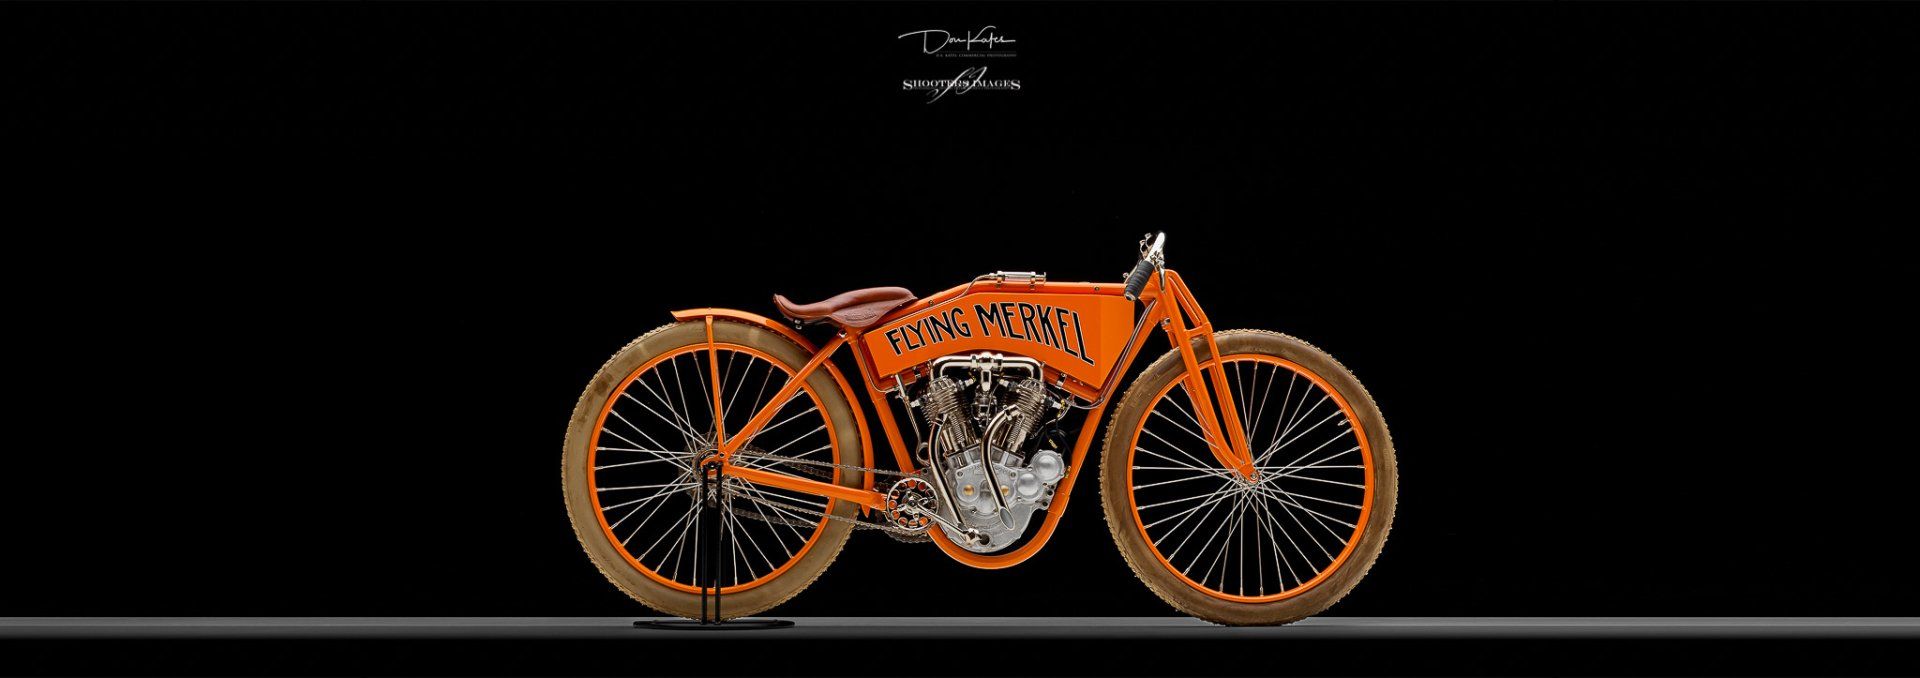
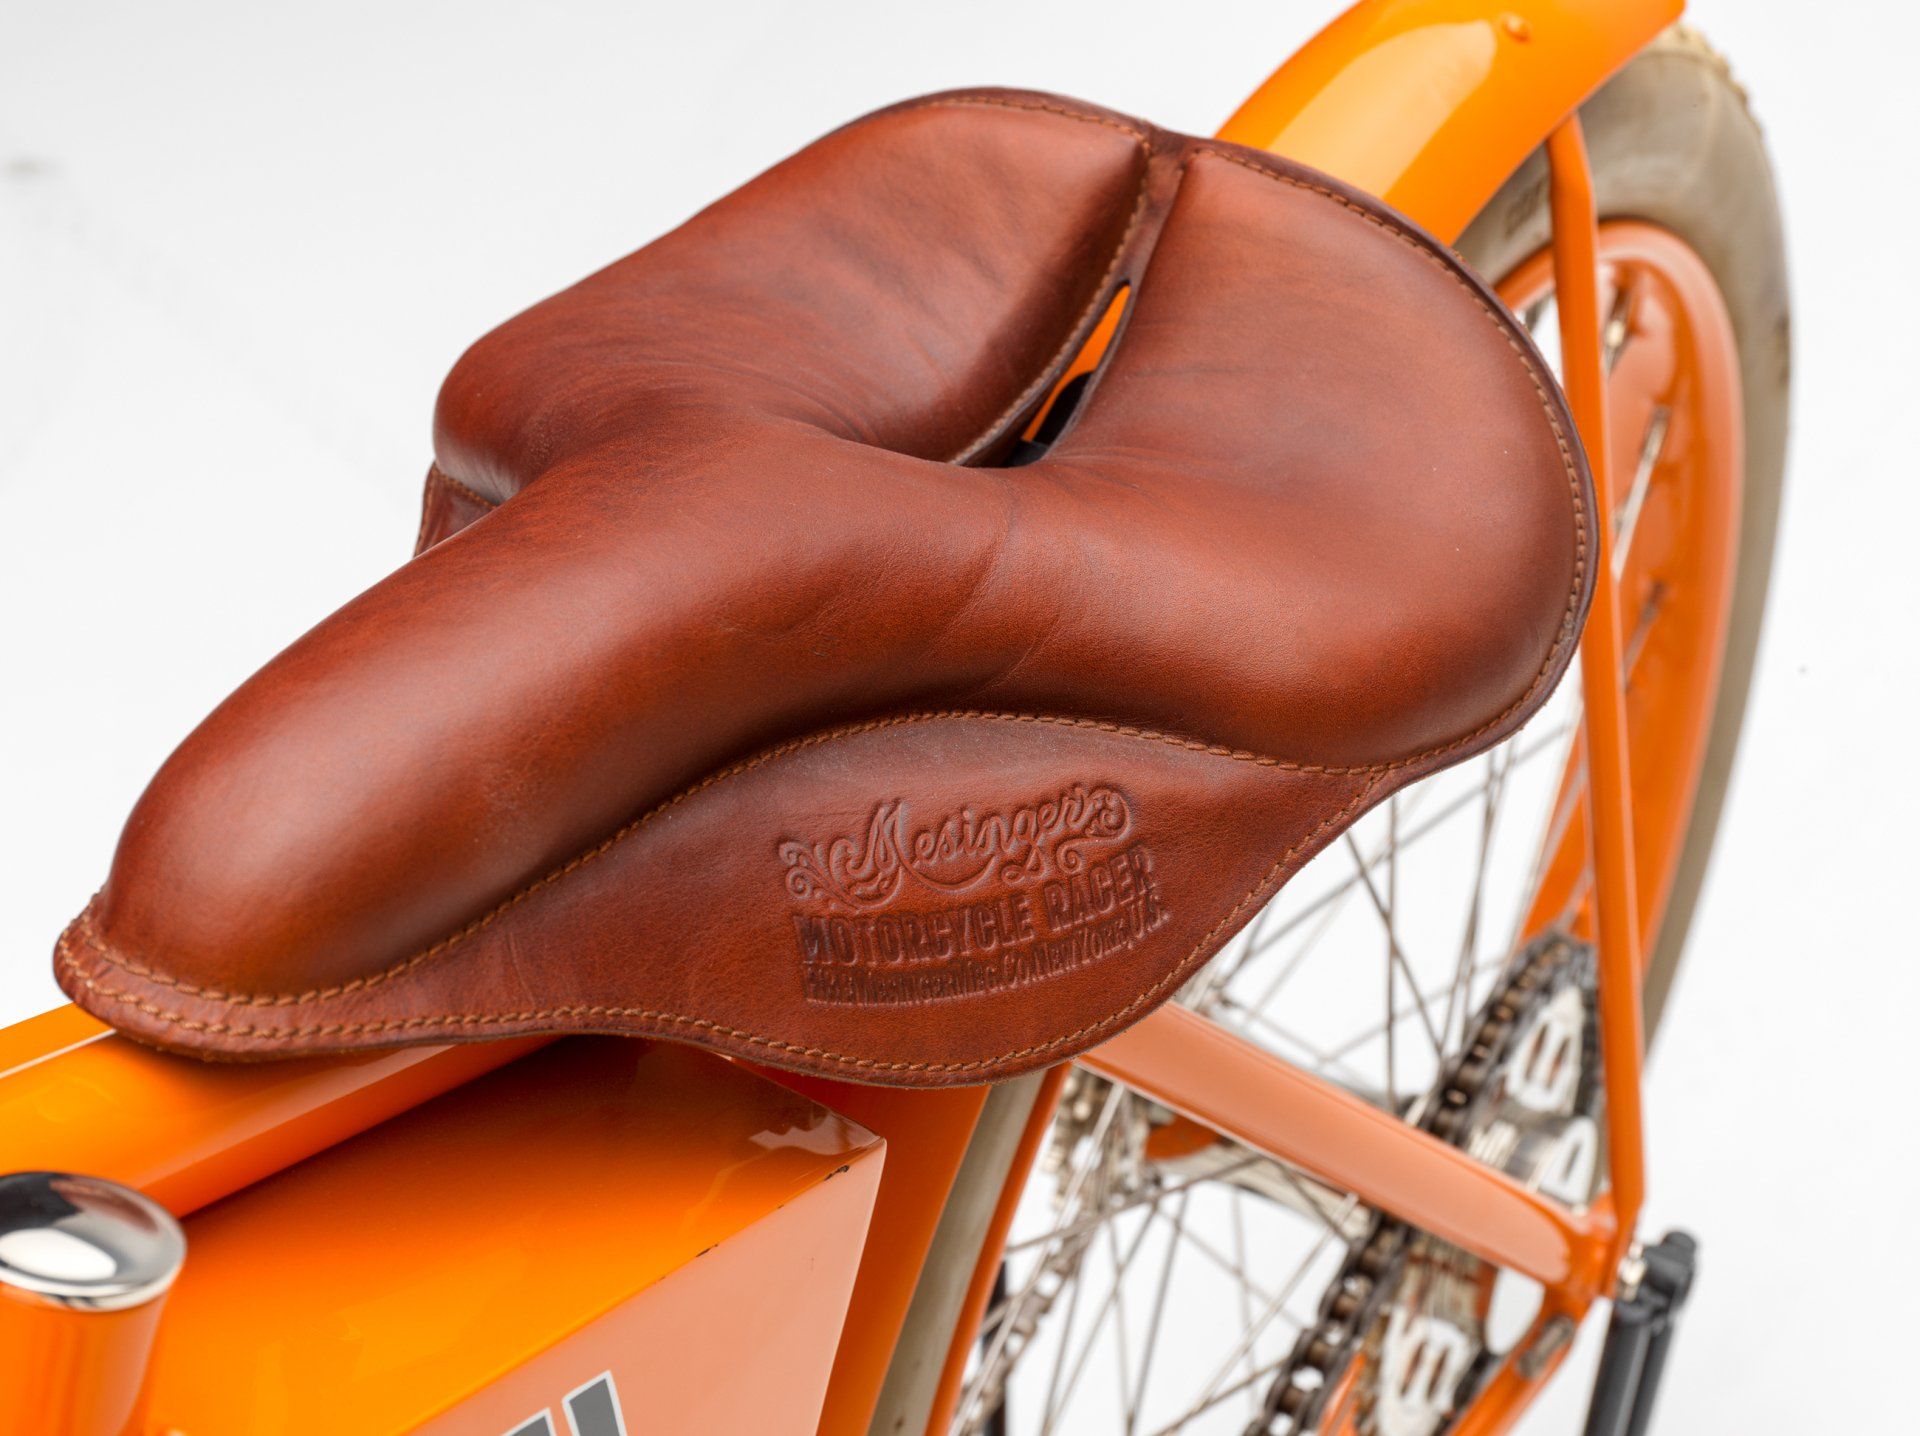
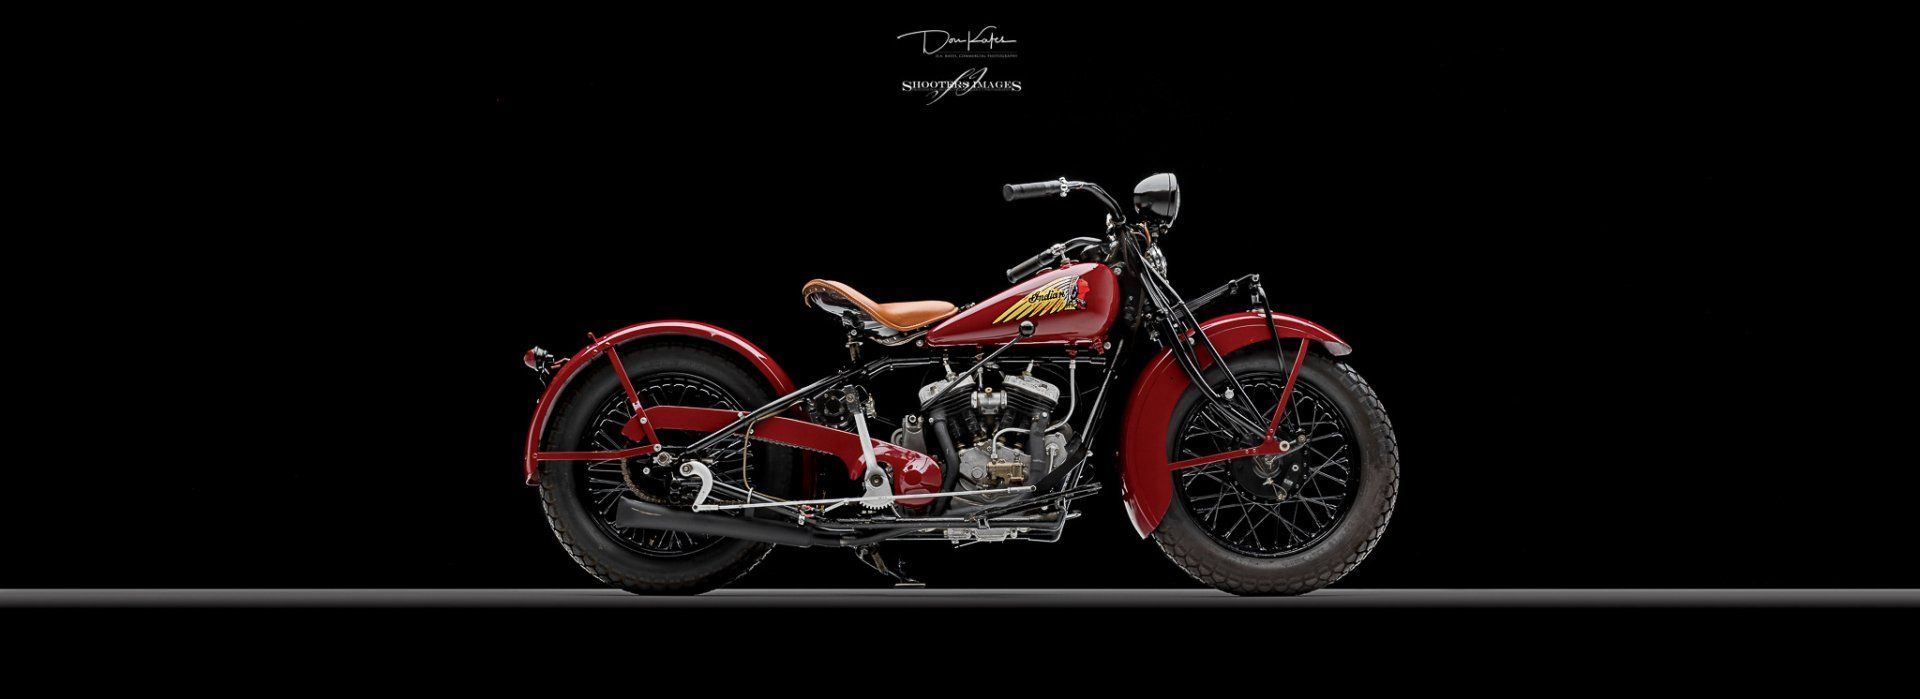
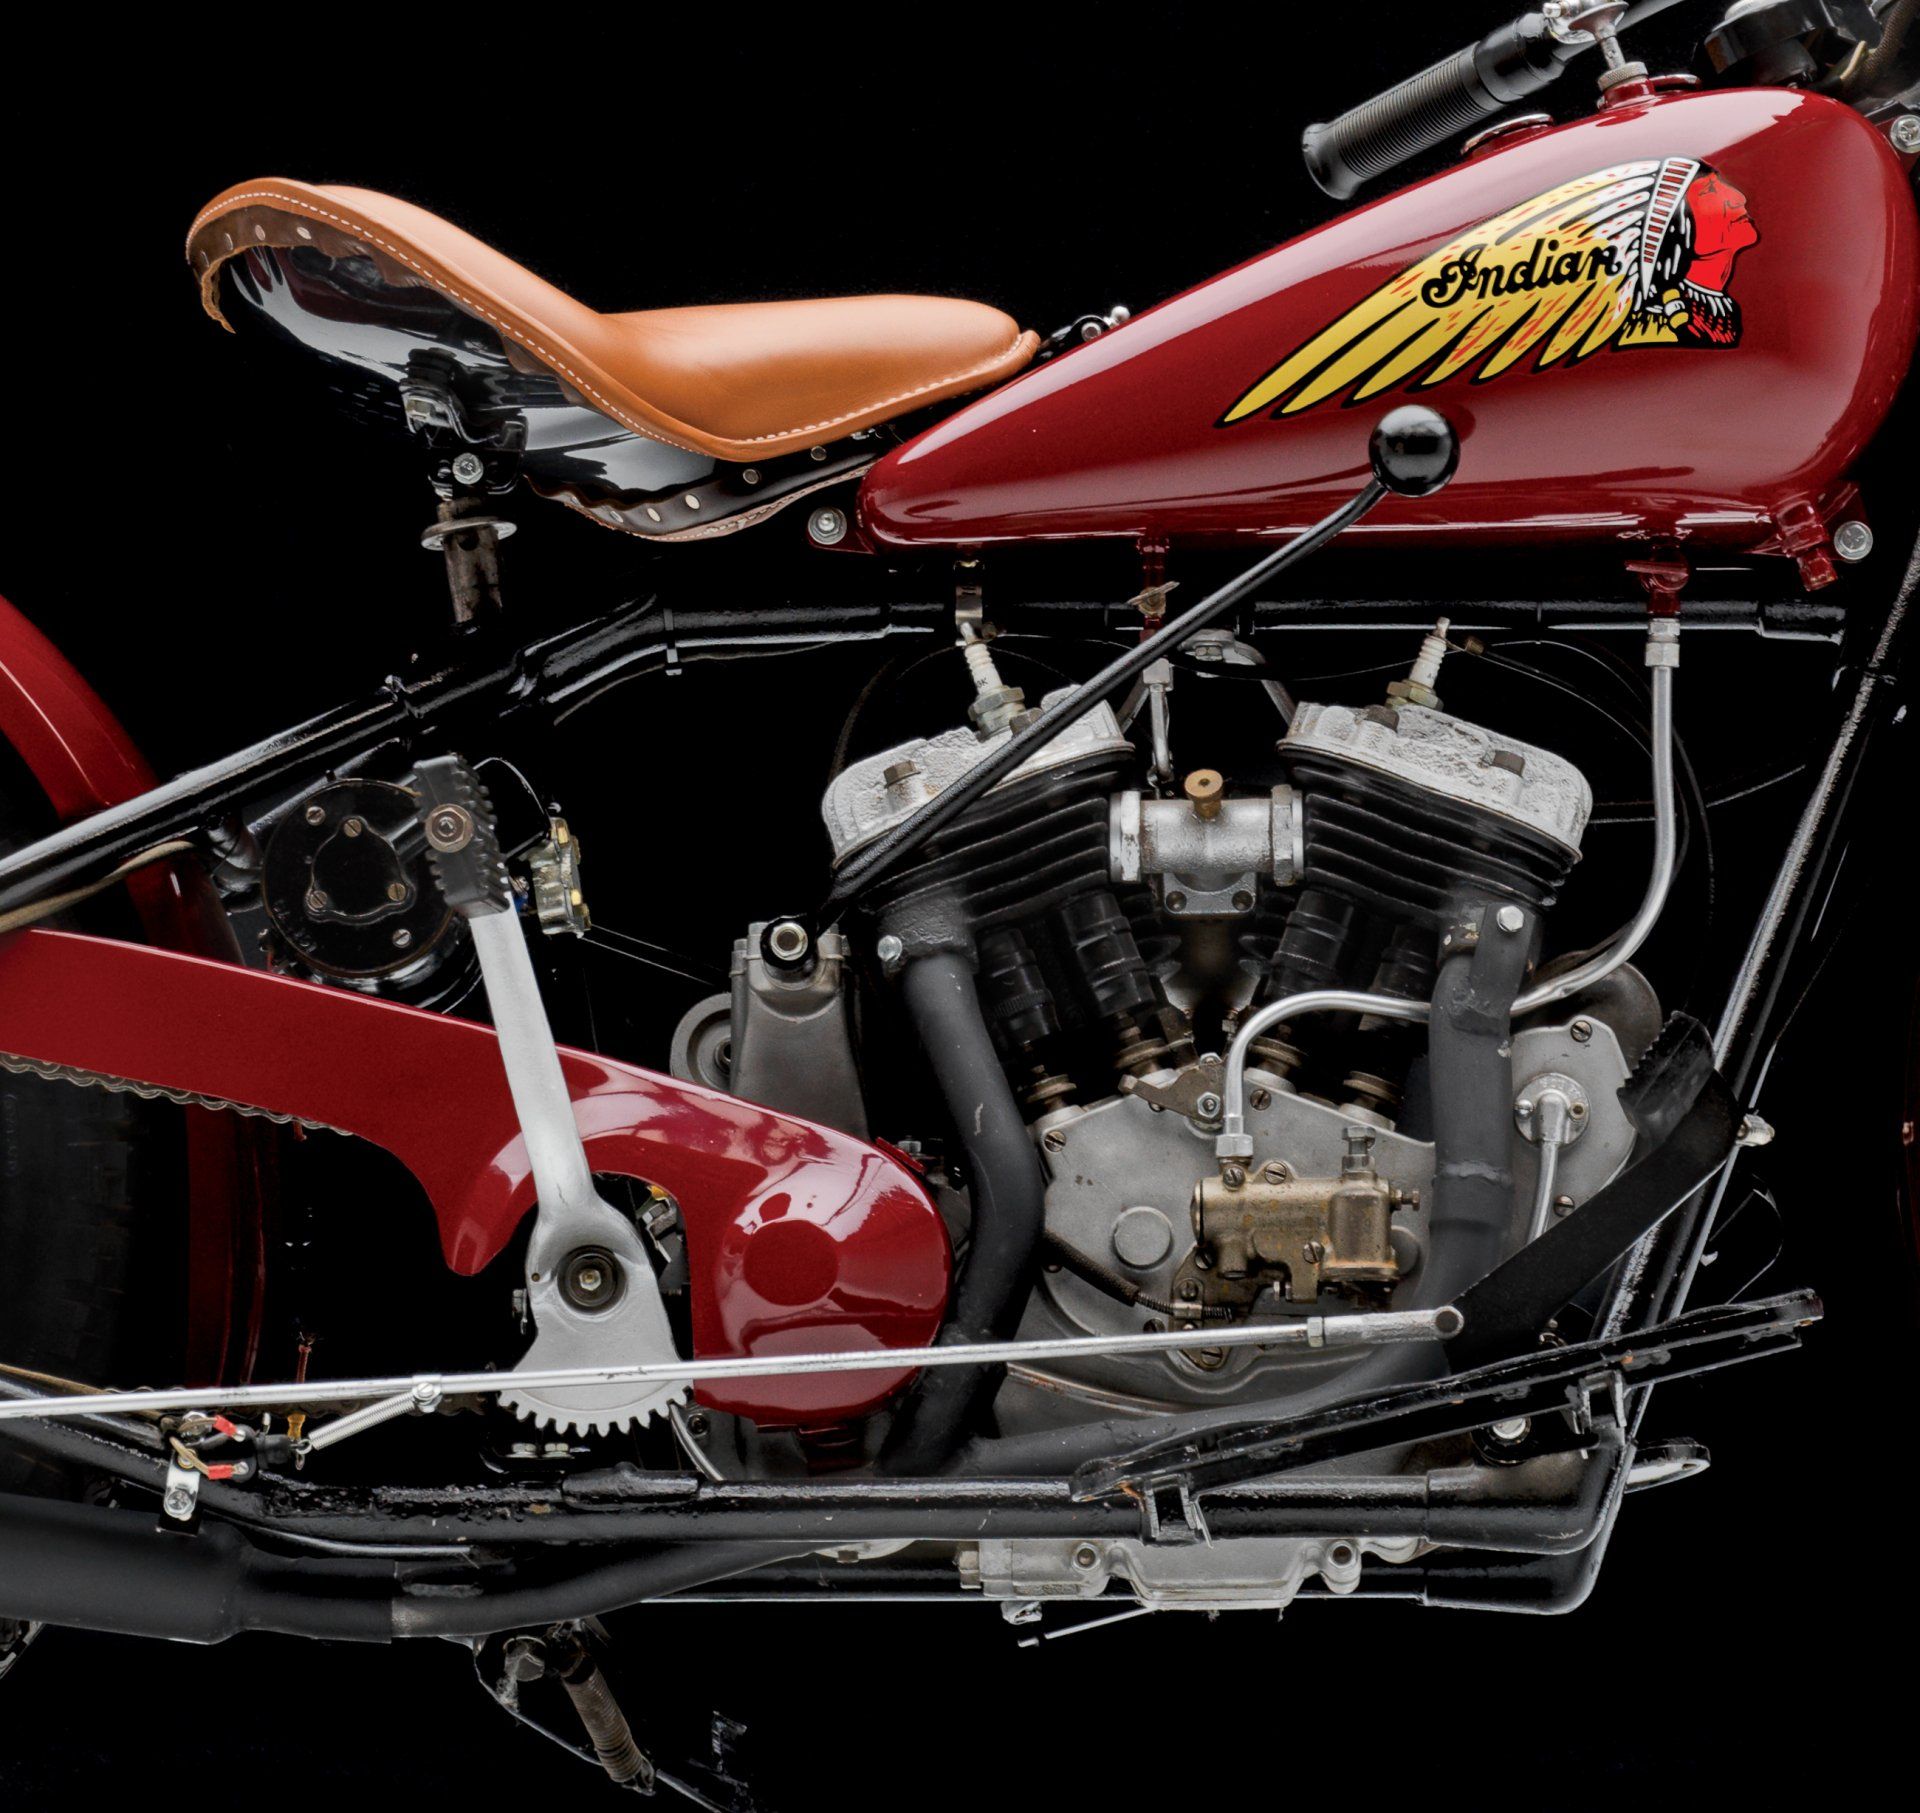
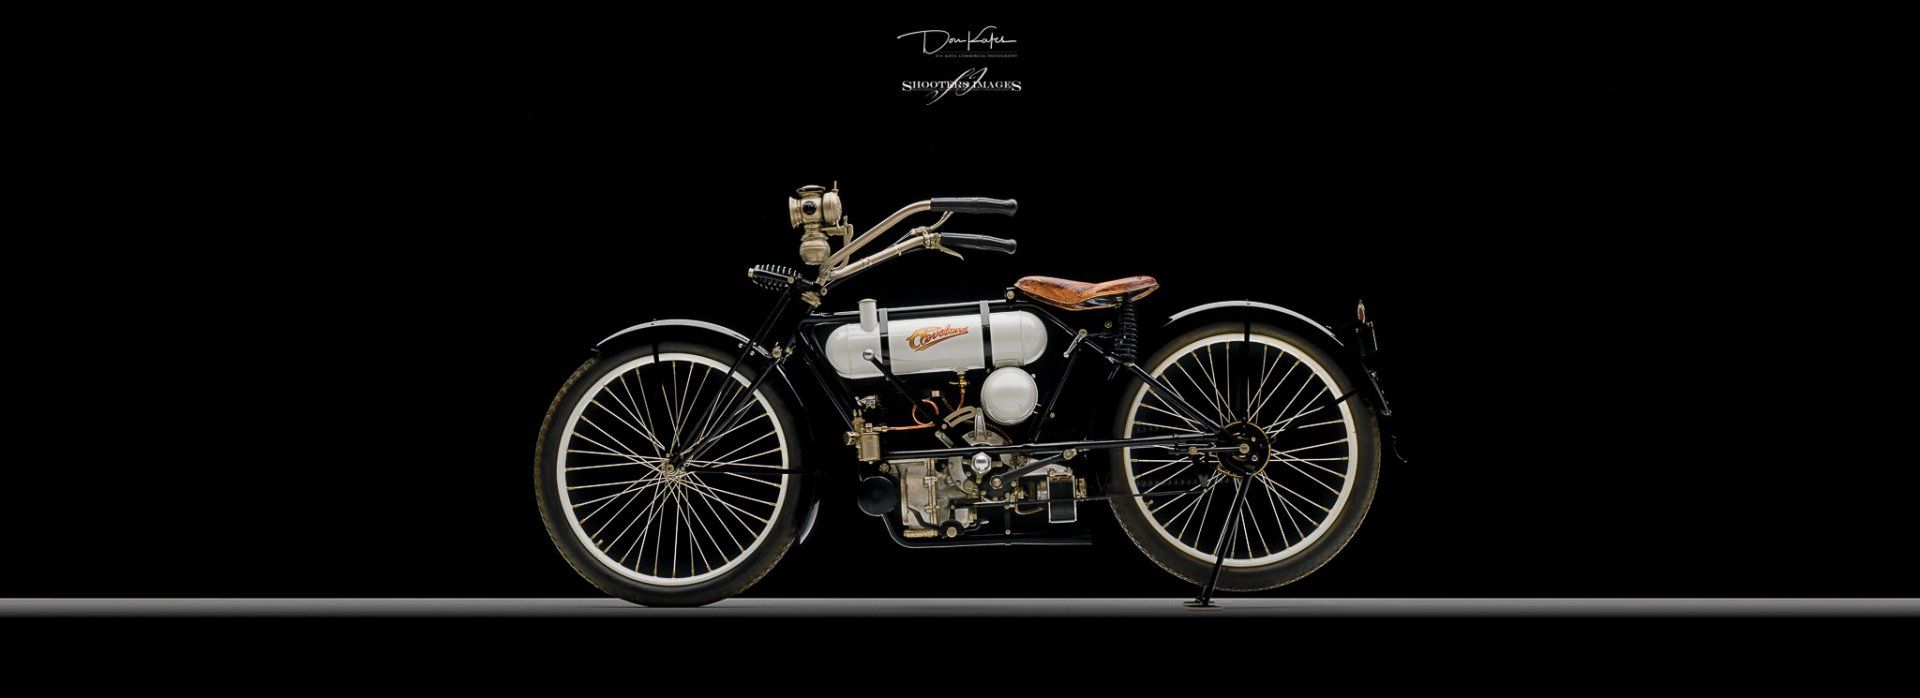
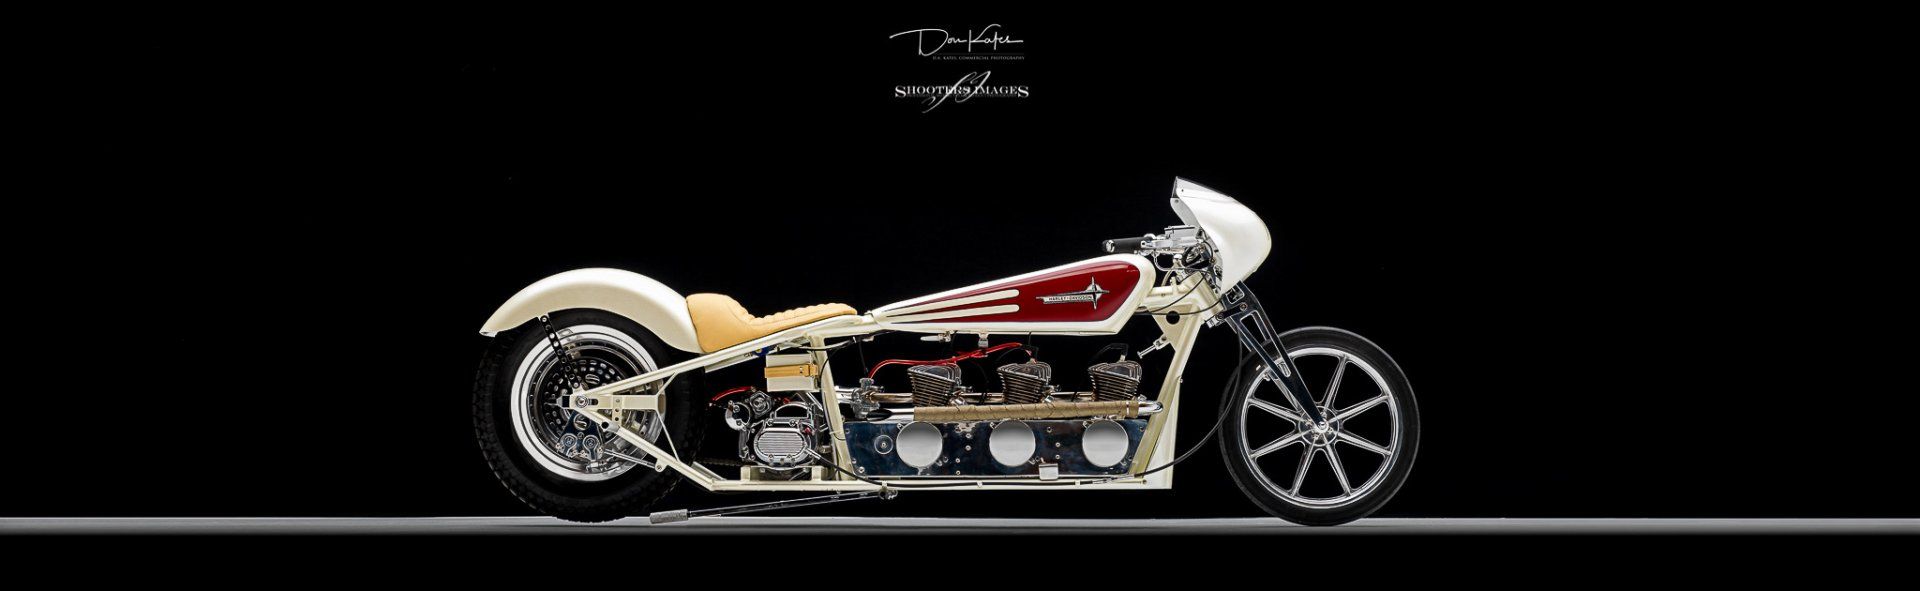
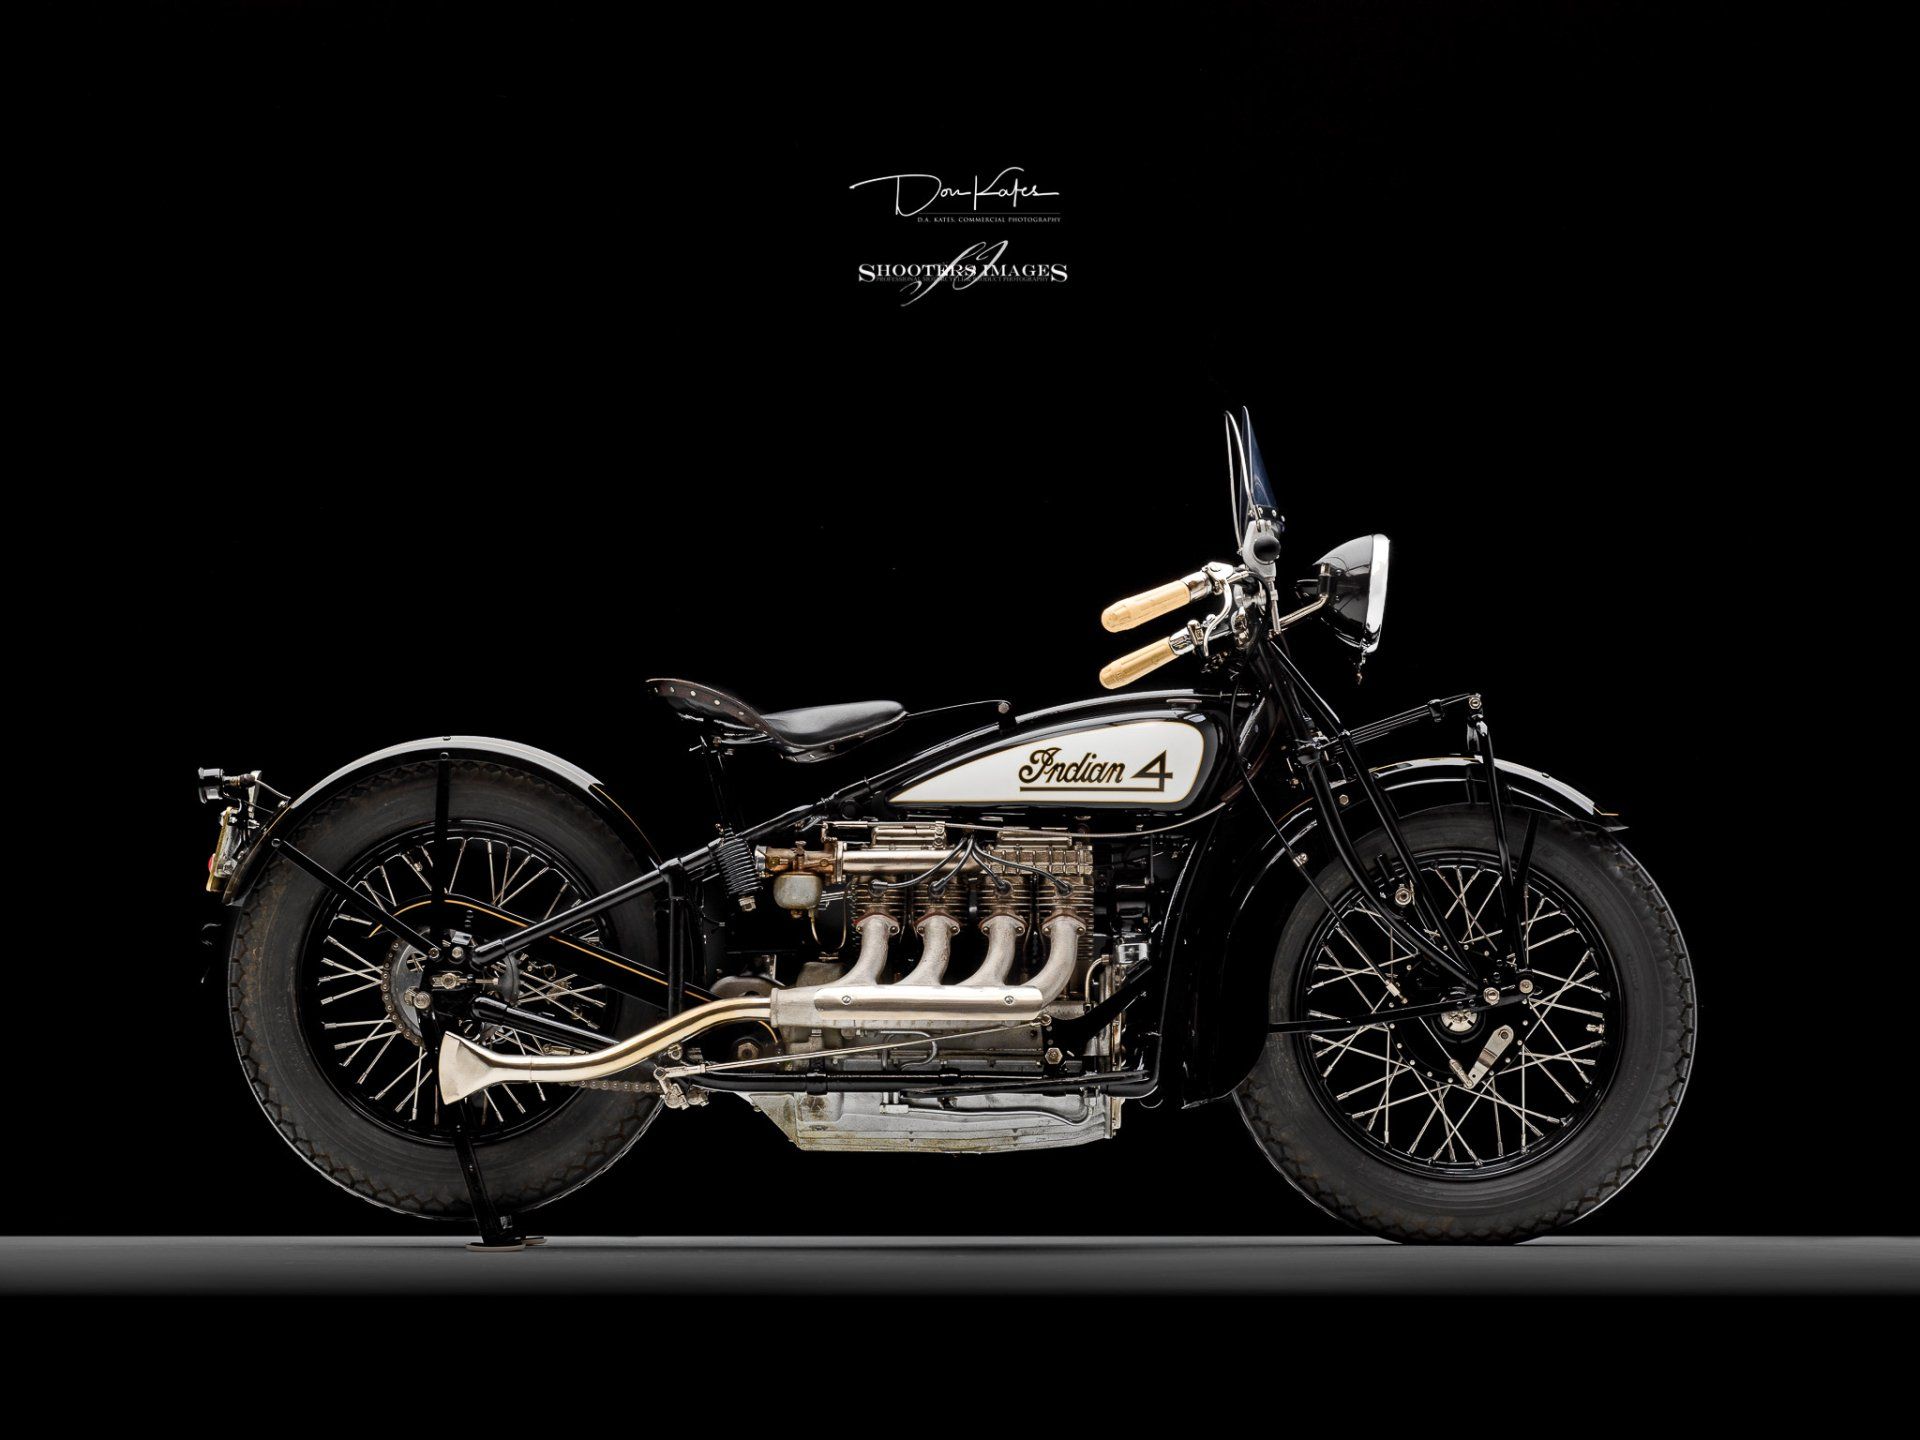
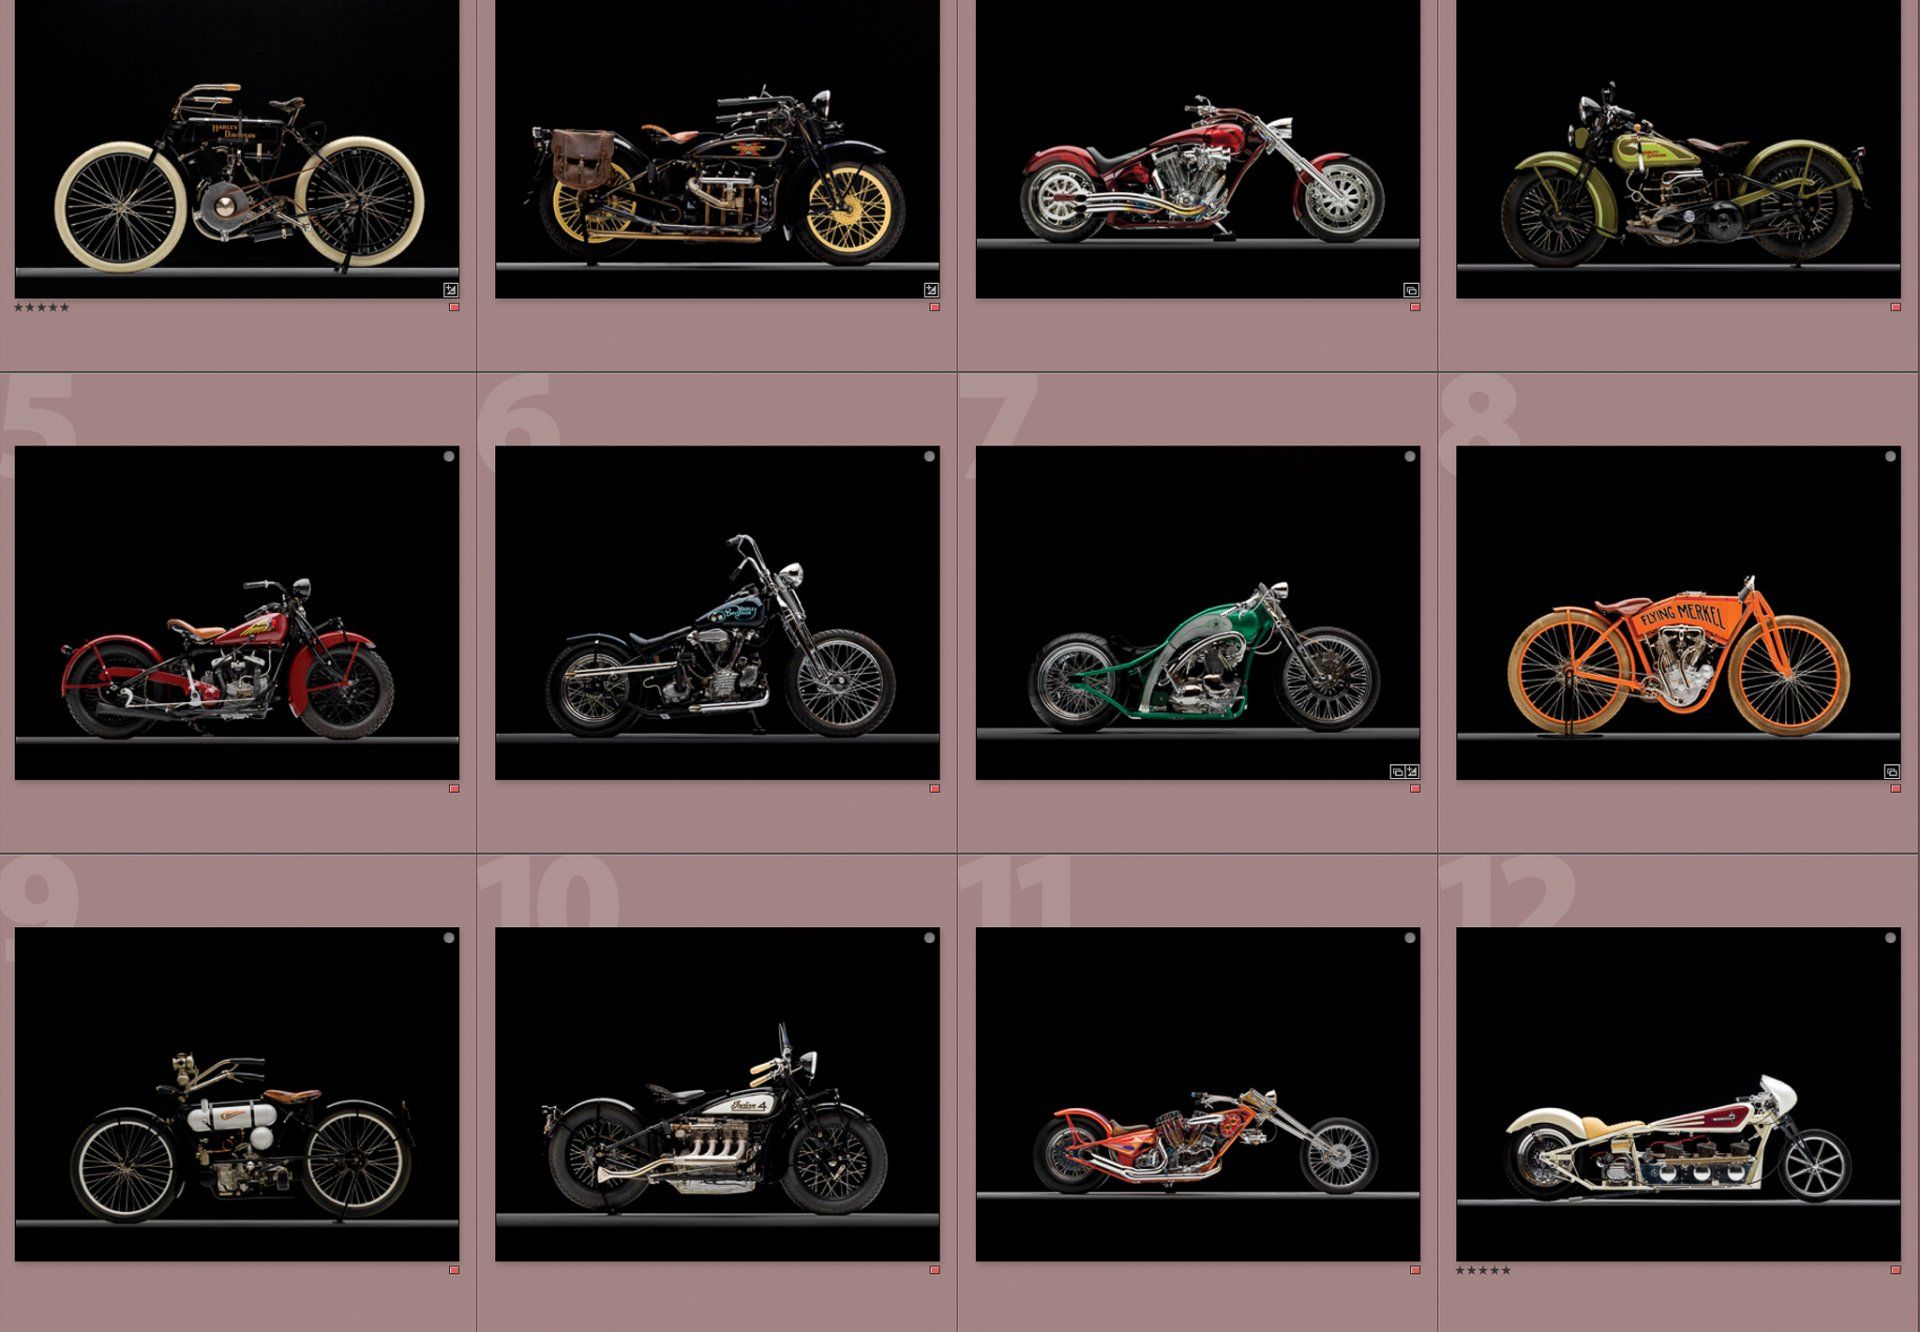
Classic bikes are some of my favorite bikes to shoot. There's a purity to them that contemporary bikes just don't have. They are basic - no frills, no extras, no stereos, no speakers - just the basics. Everything is in full view. Combine that with the marks/textures created by years of use and the "technology" of the period and you have history in front of your lens.
When I was asked by the Sturgis Motorcycle Museum
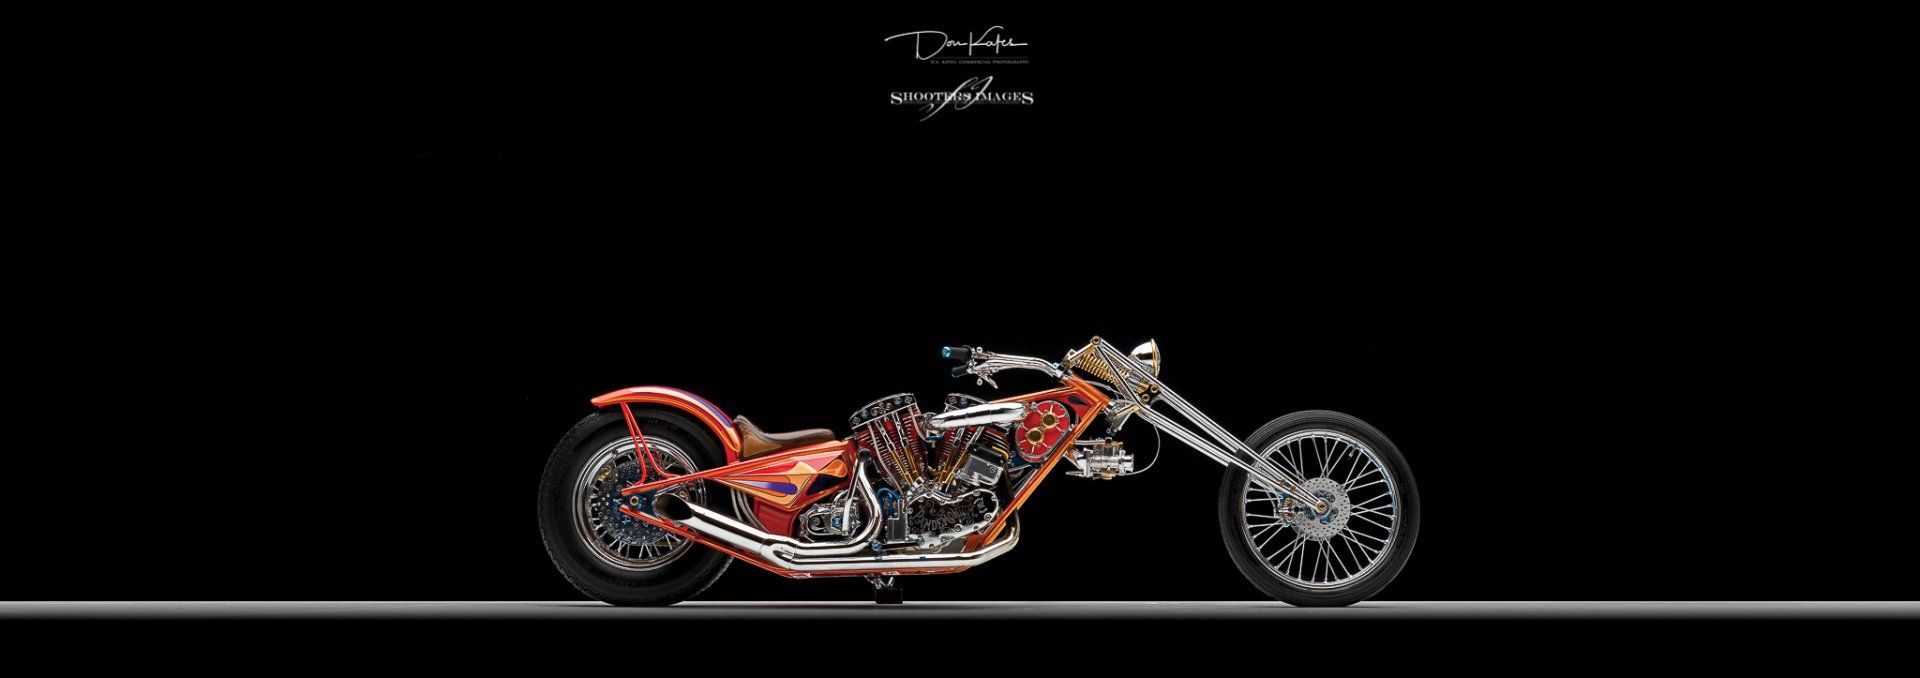
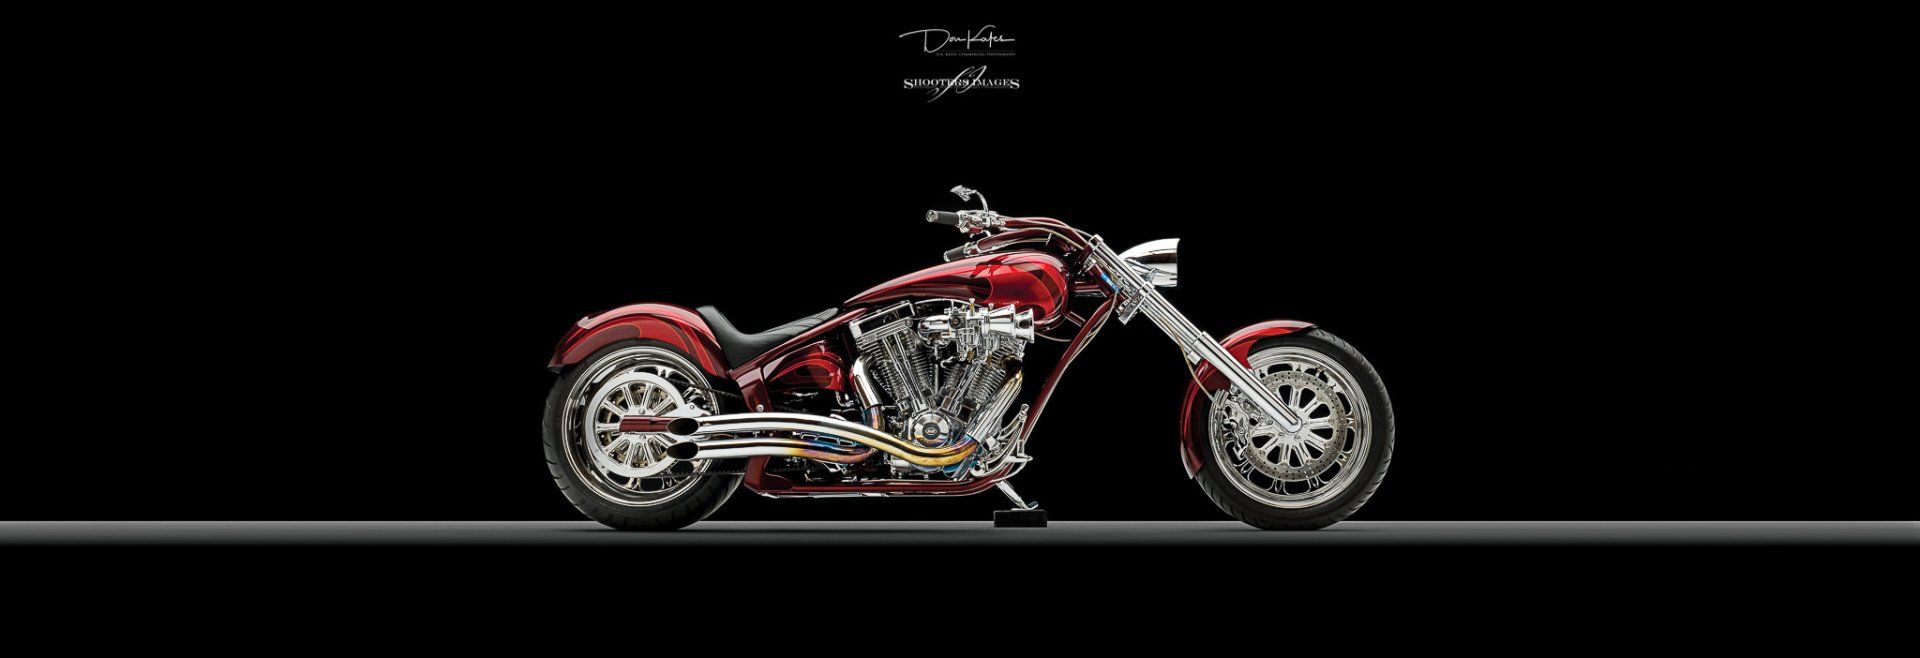
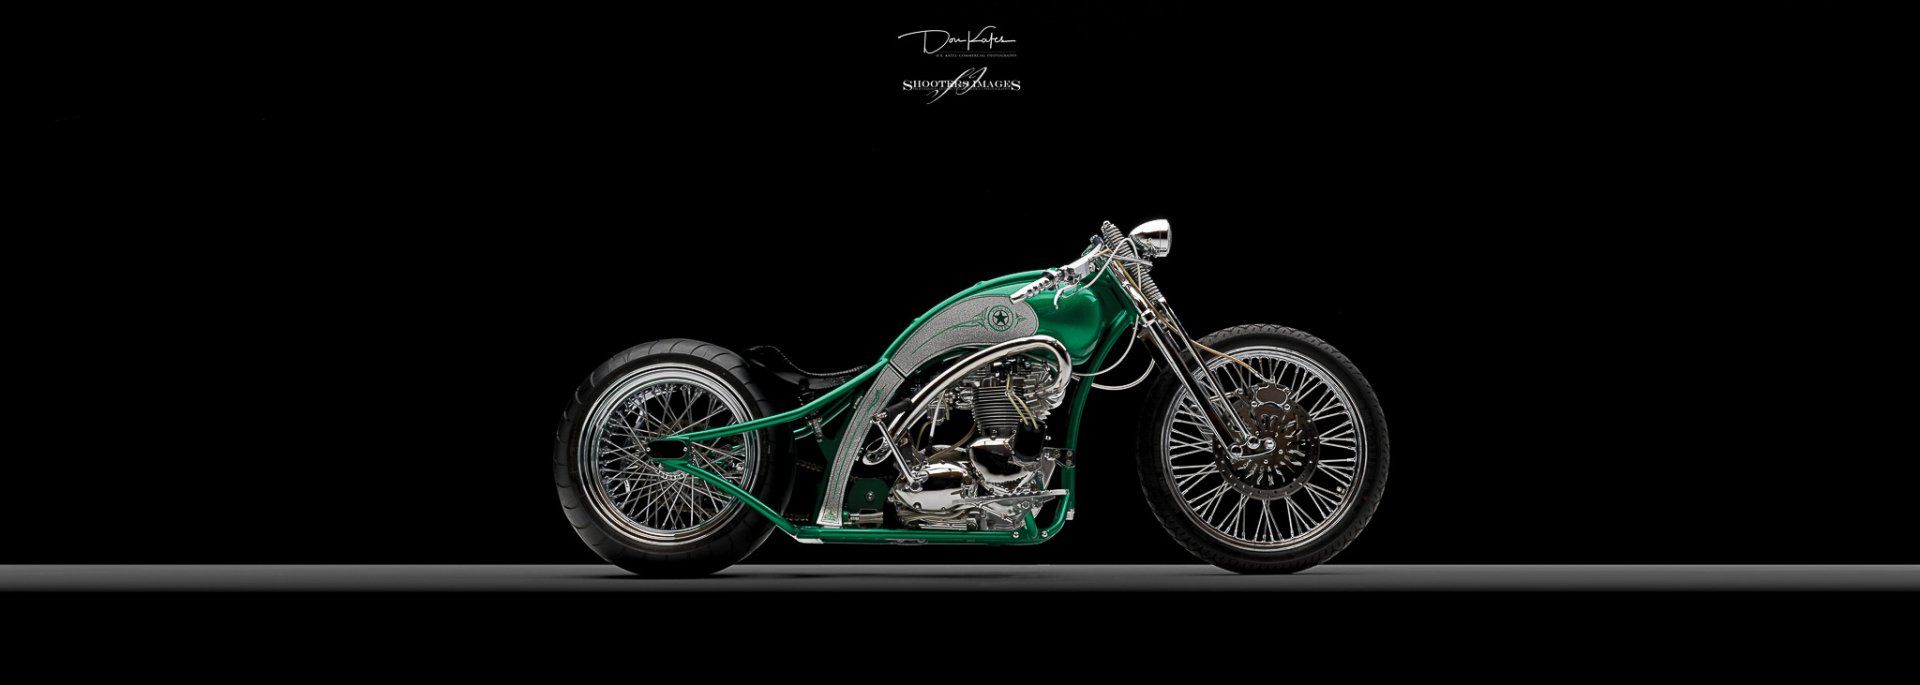
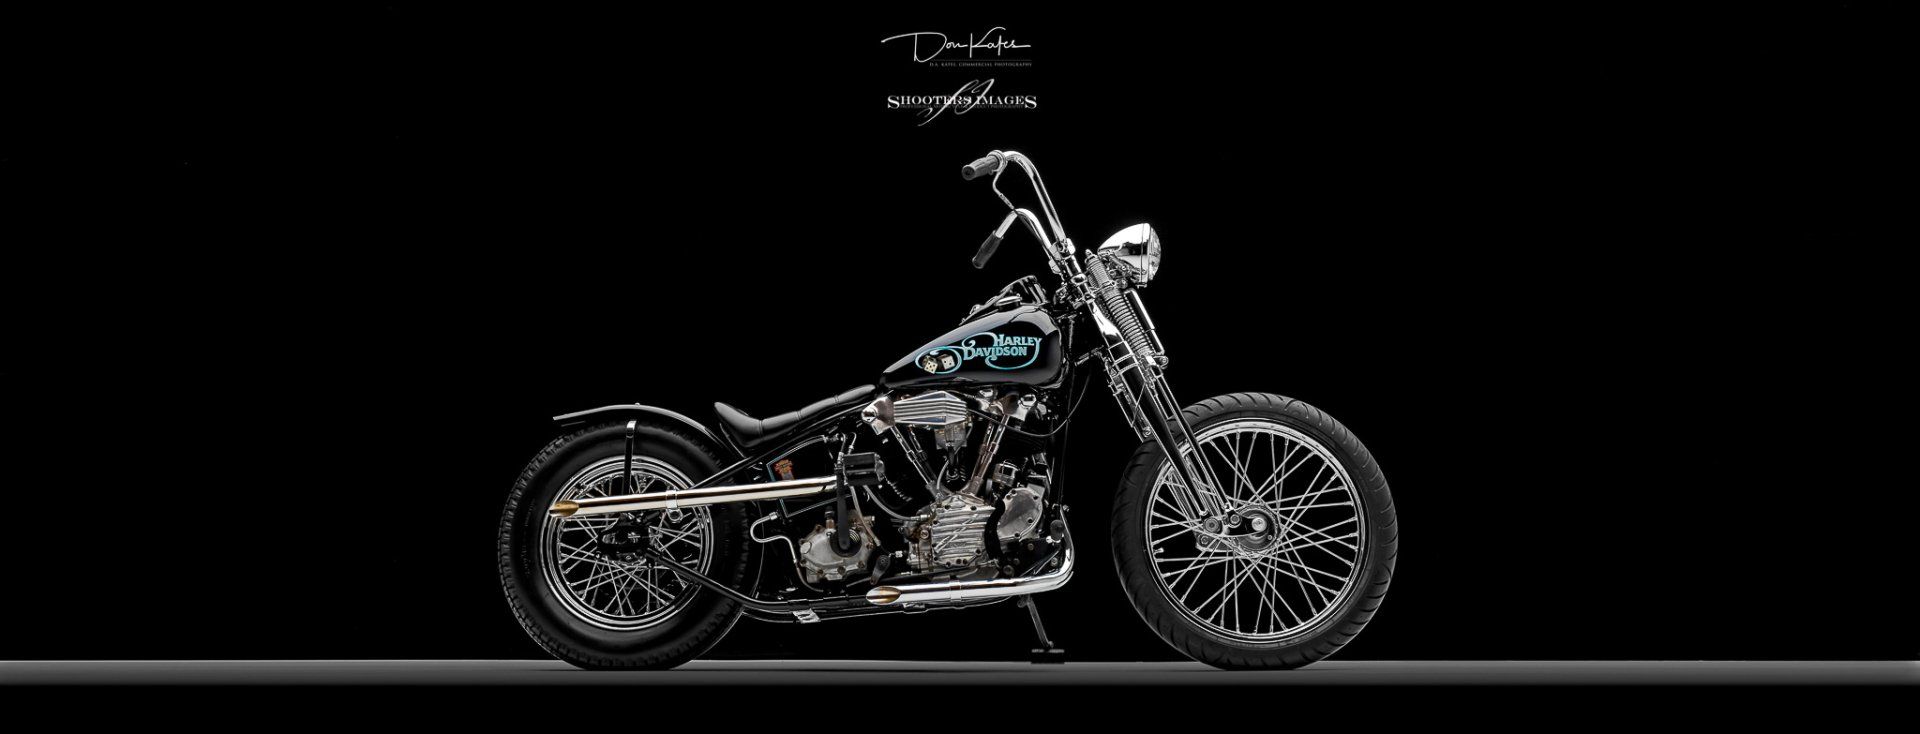
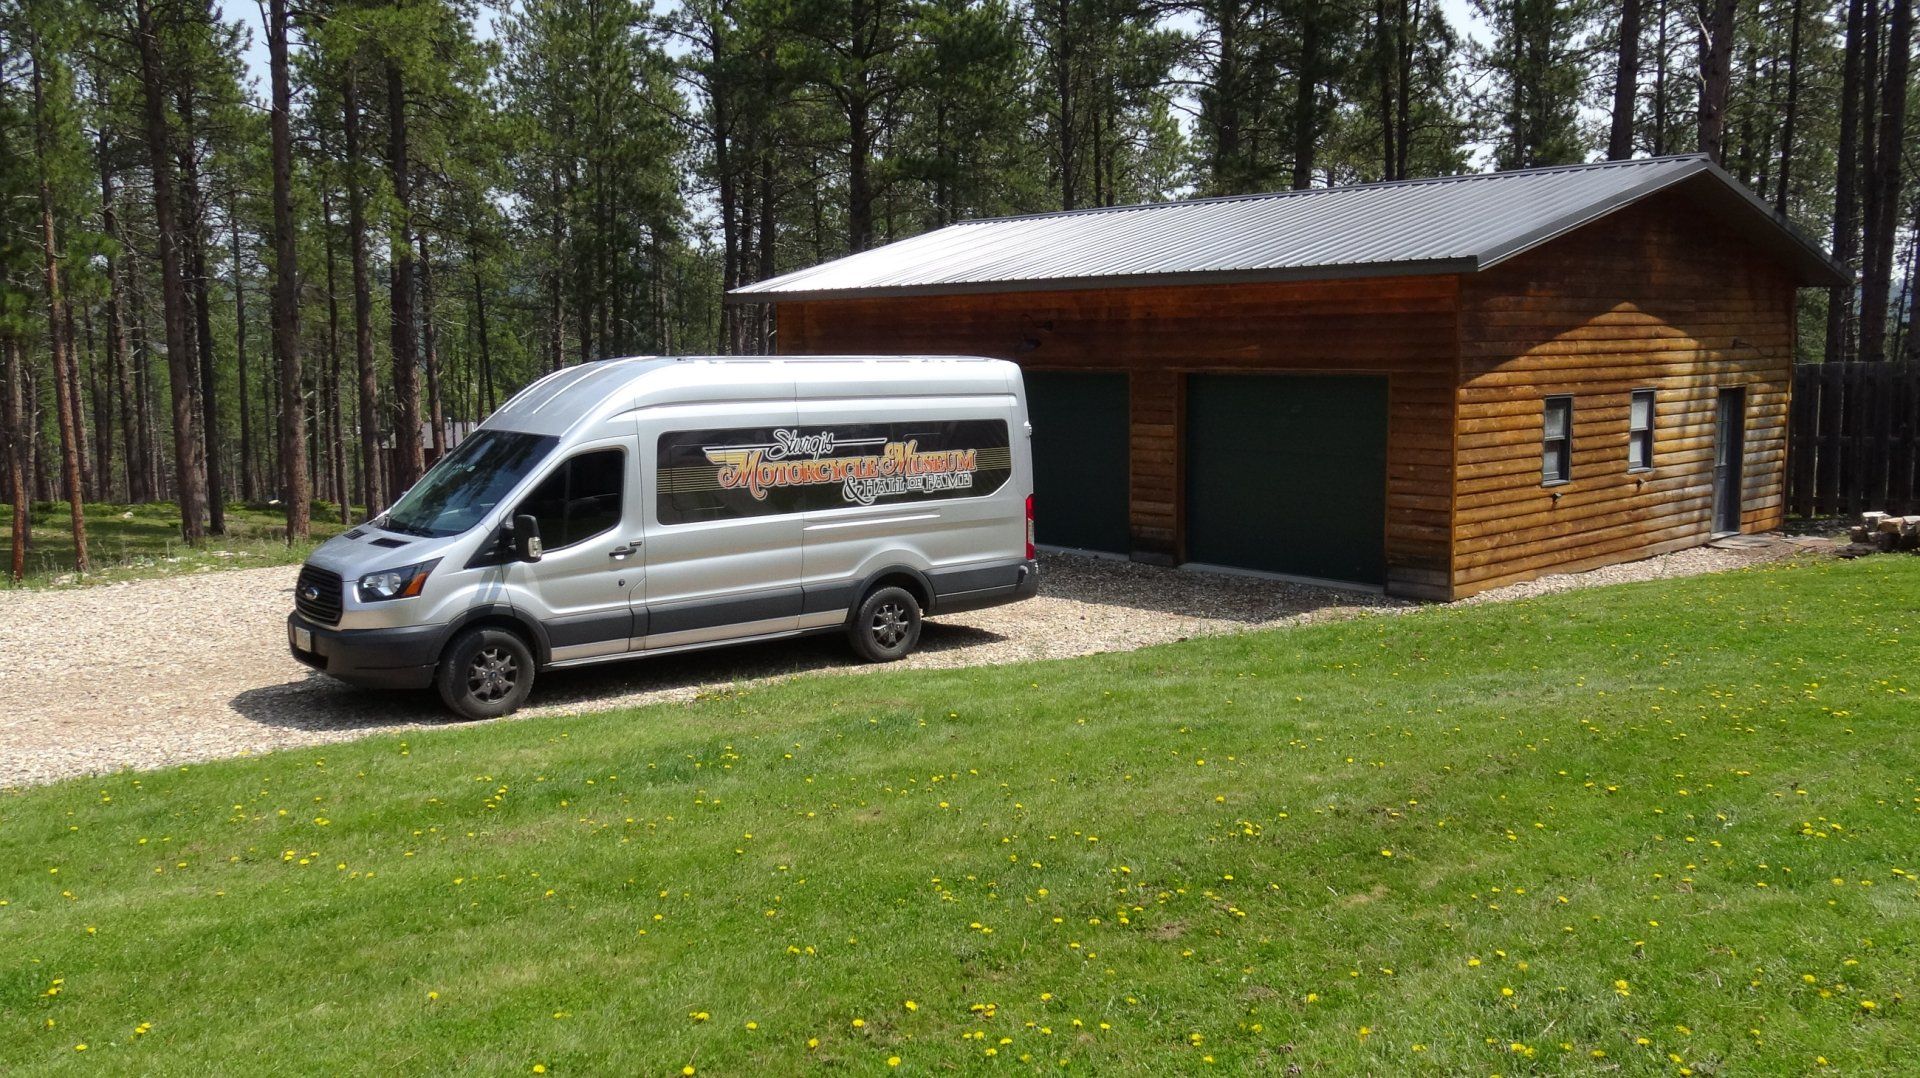
and Hall of Fame to photograph bikes for a calendar, I was more than happy to do it. The plan was to bring bikes, one at a time, to my studio just outside of Sturgis. It was decided they should be photographed on black.
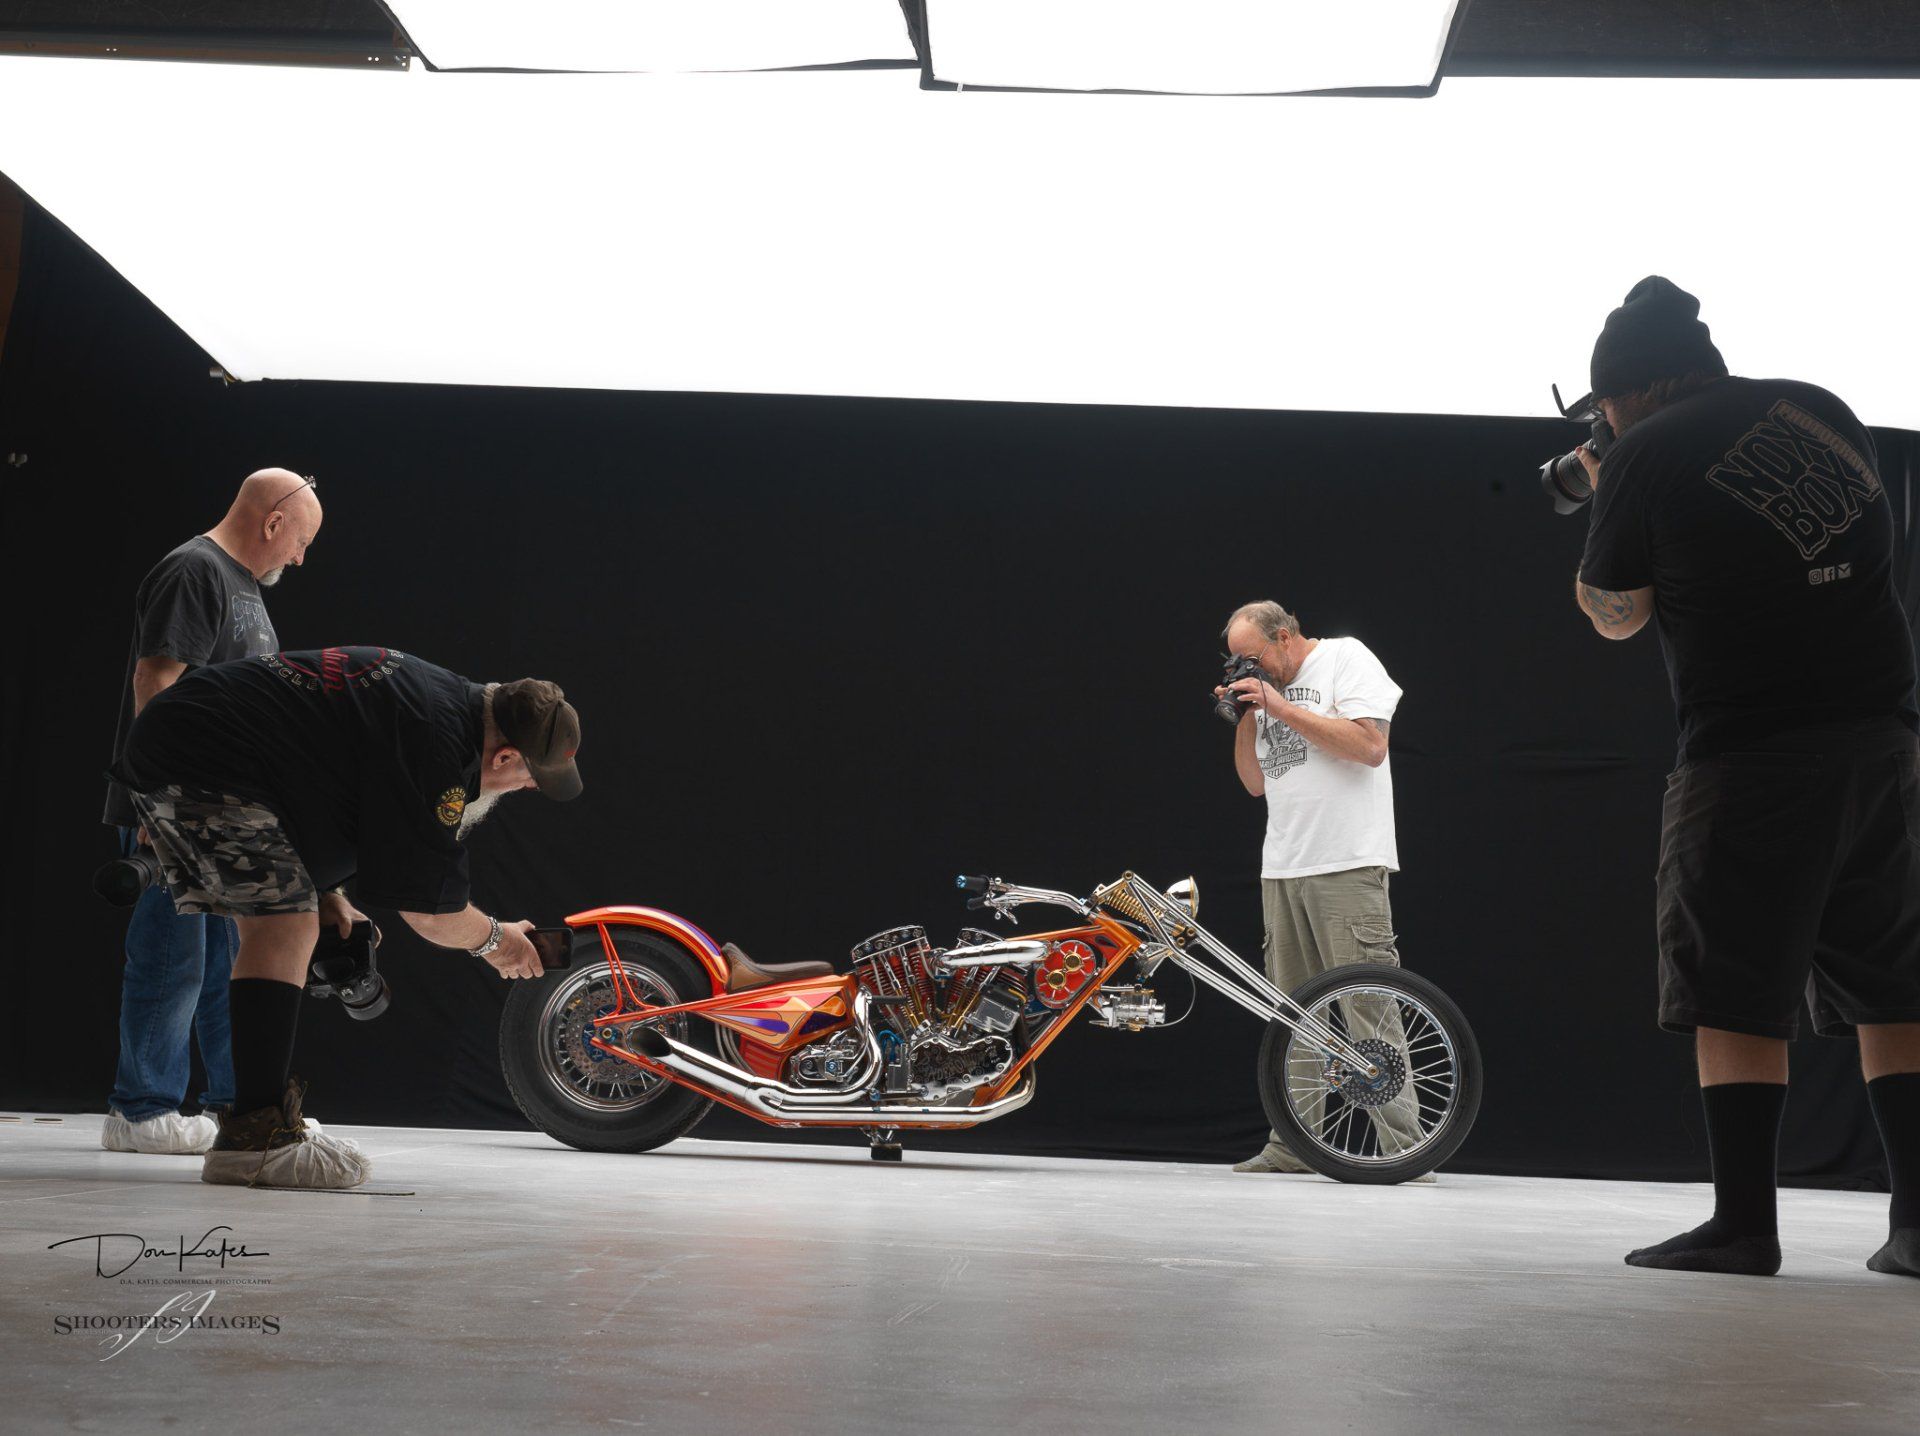
As founding member and admin on the Motorcycle Photography Education forum on FB (a forum dedicated to educational content for motorcycle photographers), I knew this would be a great opportunity for learning some studio lighting techniques. I proposed a workshop on the forum for anyone interested in assisting/learning/photographing these machines and 4 members traveled from different parts of the country to participate in this 2.5 day workshop in the Black Hills. Below are some of the random photos and videos of the process.


Challenge and Process
Challenge and Process
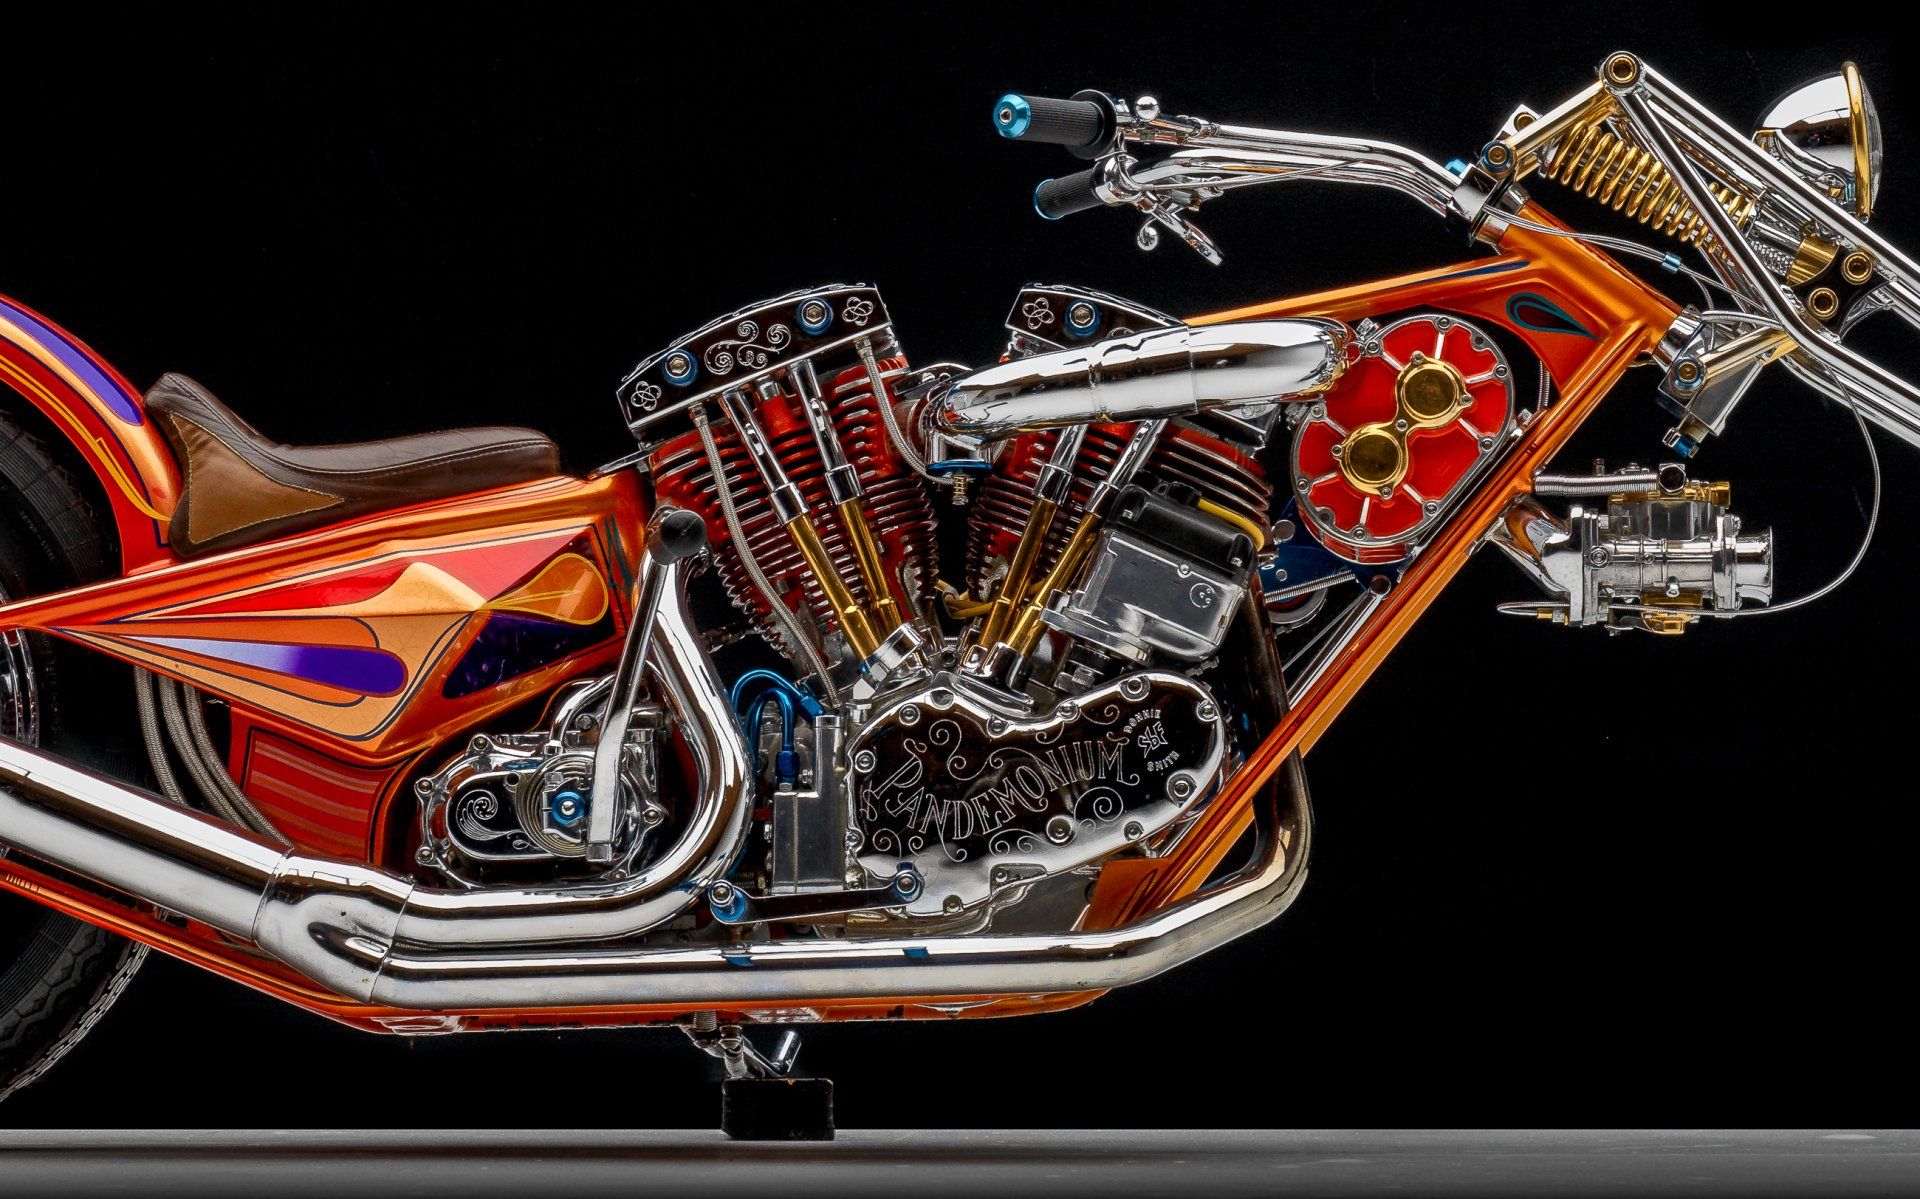
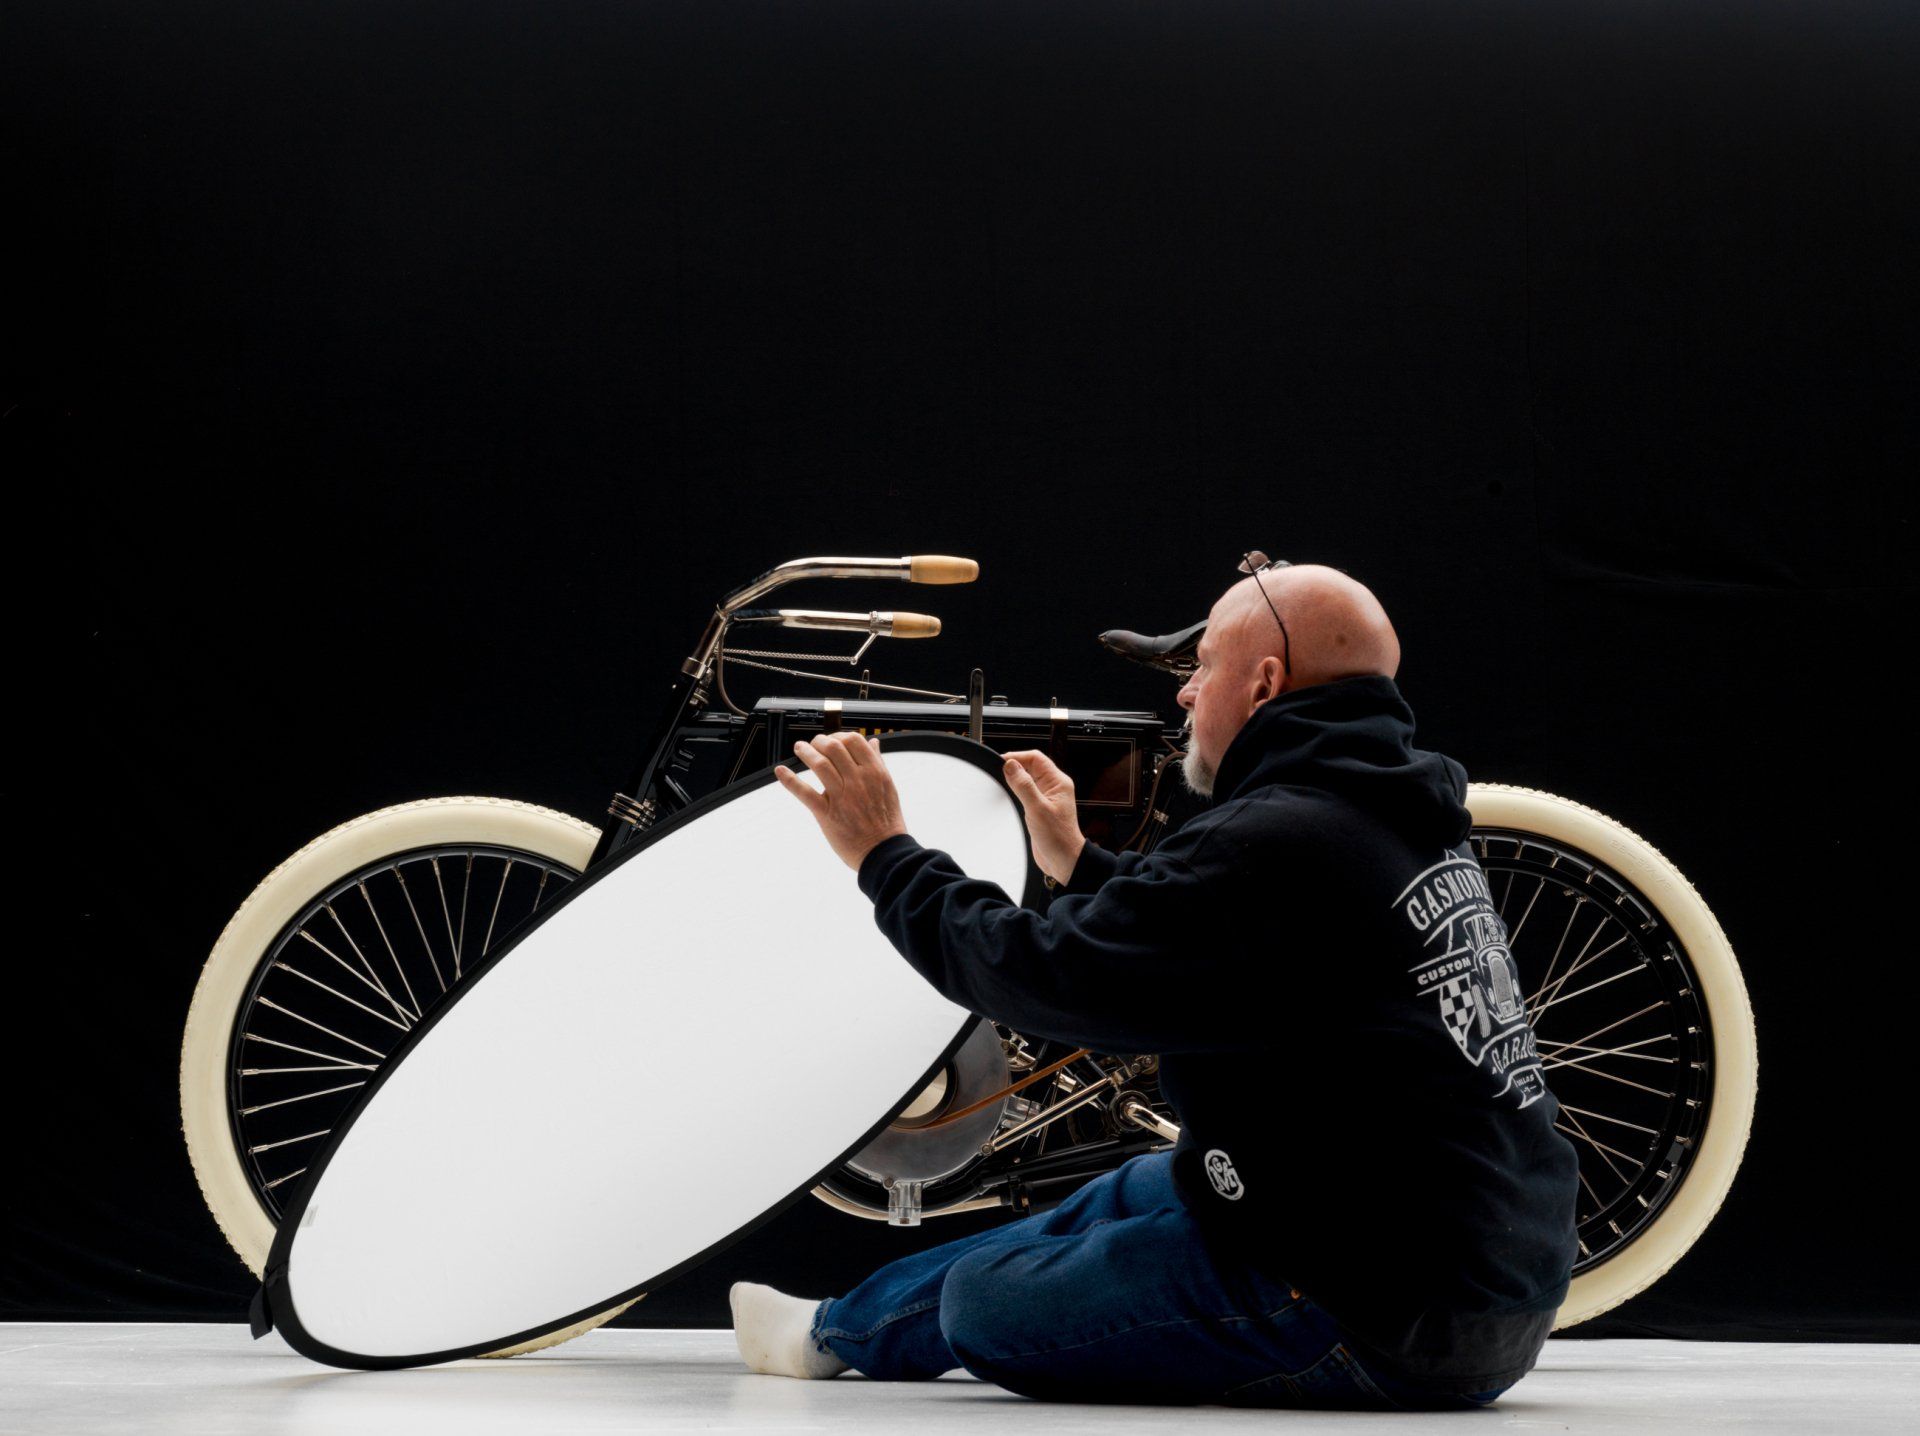
My studio has been outside of Sturgis for nearly 10 years. Although each vehicle (car, truck, motorcycle etc) brings with it some unique challenges, some aspects of lighting are the same for any vehicle. During those 10 years, I've developed a lighting set up that meets basic requirements of all shoots. That set up is then "tweaked" to match lighting requirements for the vehicle. The workhorse in the studio is the 10' x 30' Chimera light bank w/ 6 - 1200ws Elinchrom strobes that collectively provide 7200 watts of light - more than enough light for most projects. However, shooting on black has some unique challenges. One of them is the tremendous amount of light that the black background "sucks up." Add to that the fact that black vehicles seem to disappear against the black background - not to mention the significant amount to time needed for post production when shooting on black. Additional lighting was necessary (around 2000ws more) along with reflectors and other special light modifiers to make sure edges were highlighted (so the bikes would separate from the background) and black parts (against the black background) and all the character/marks of time were sufficiently and properly illuminated.
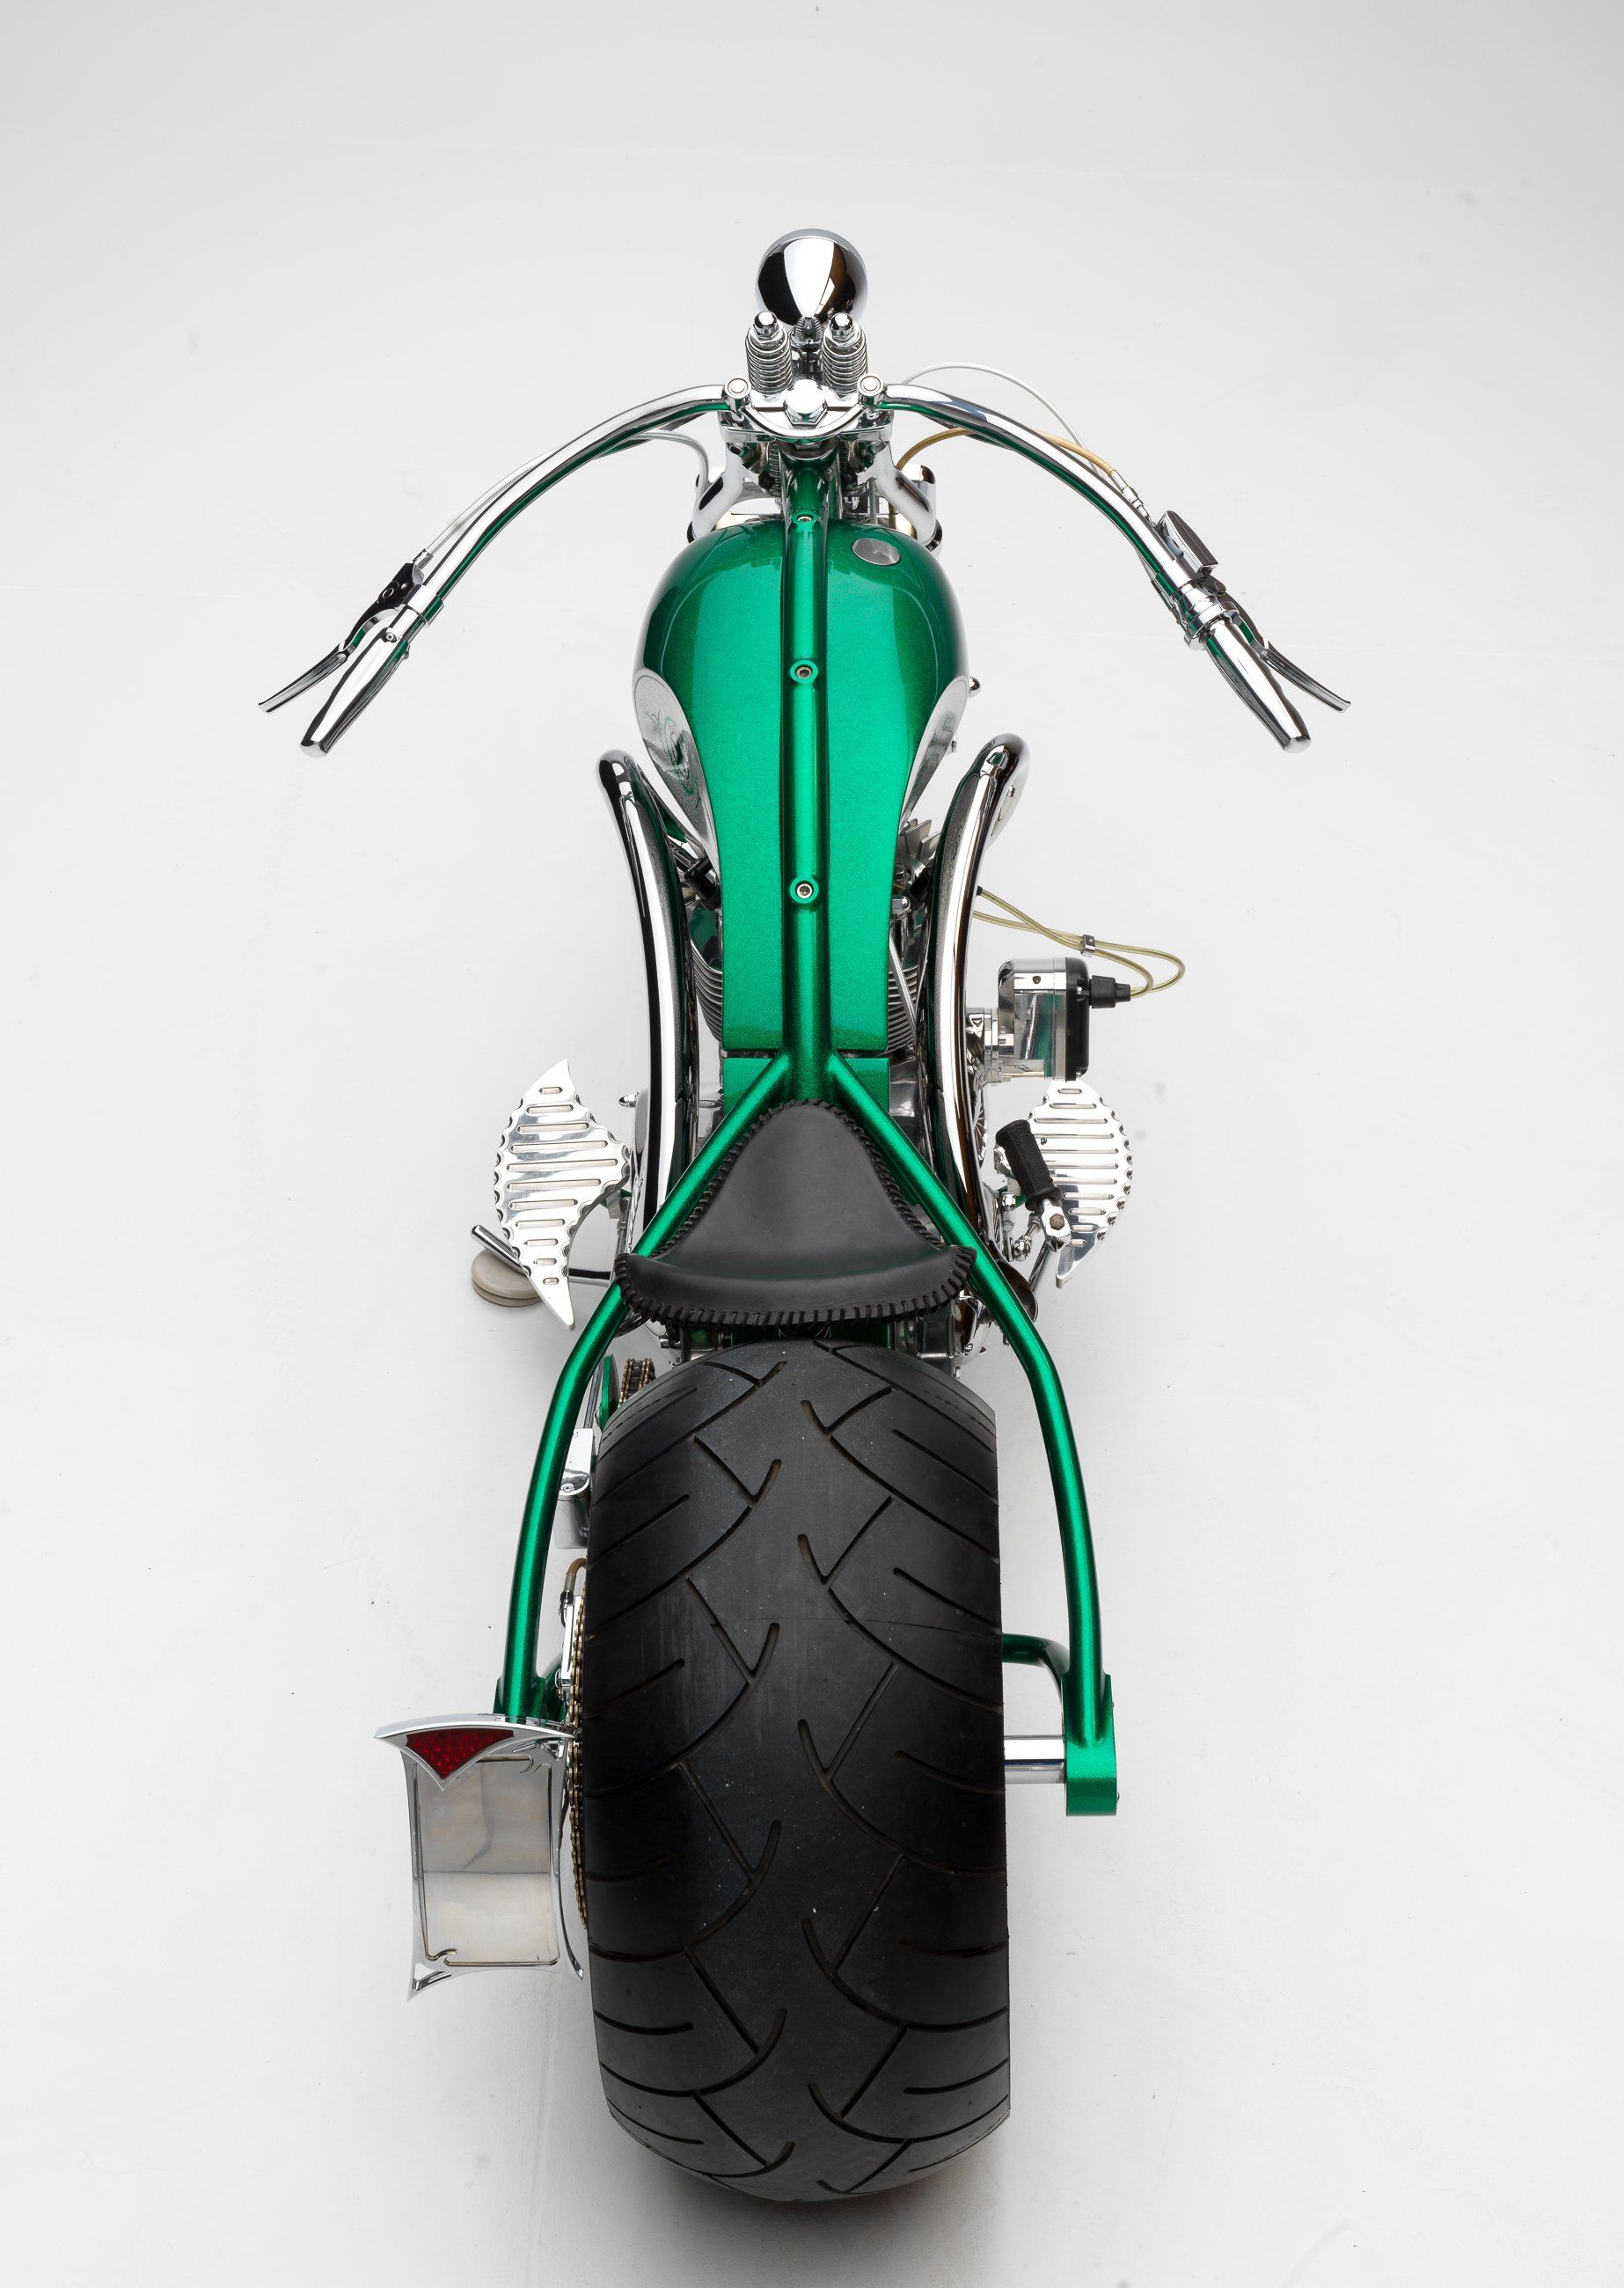
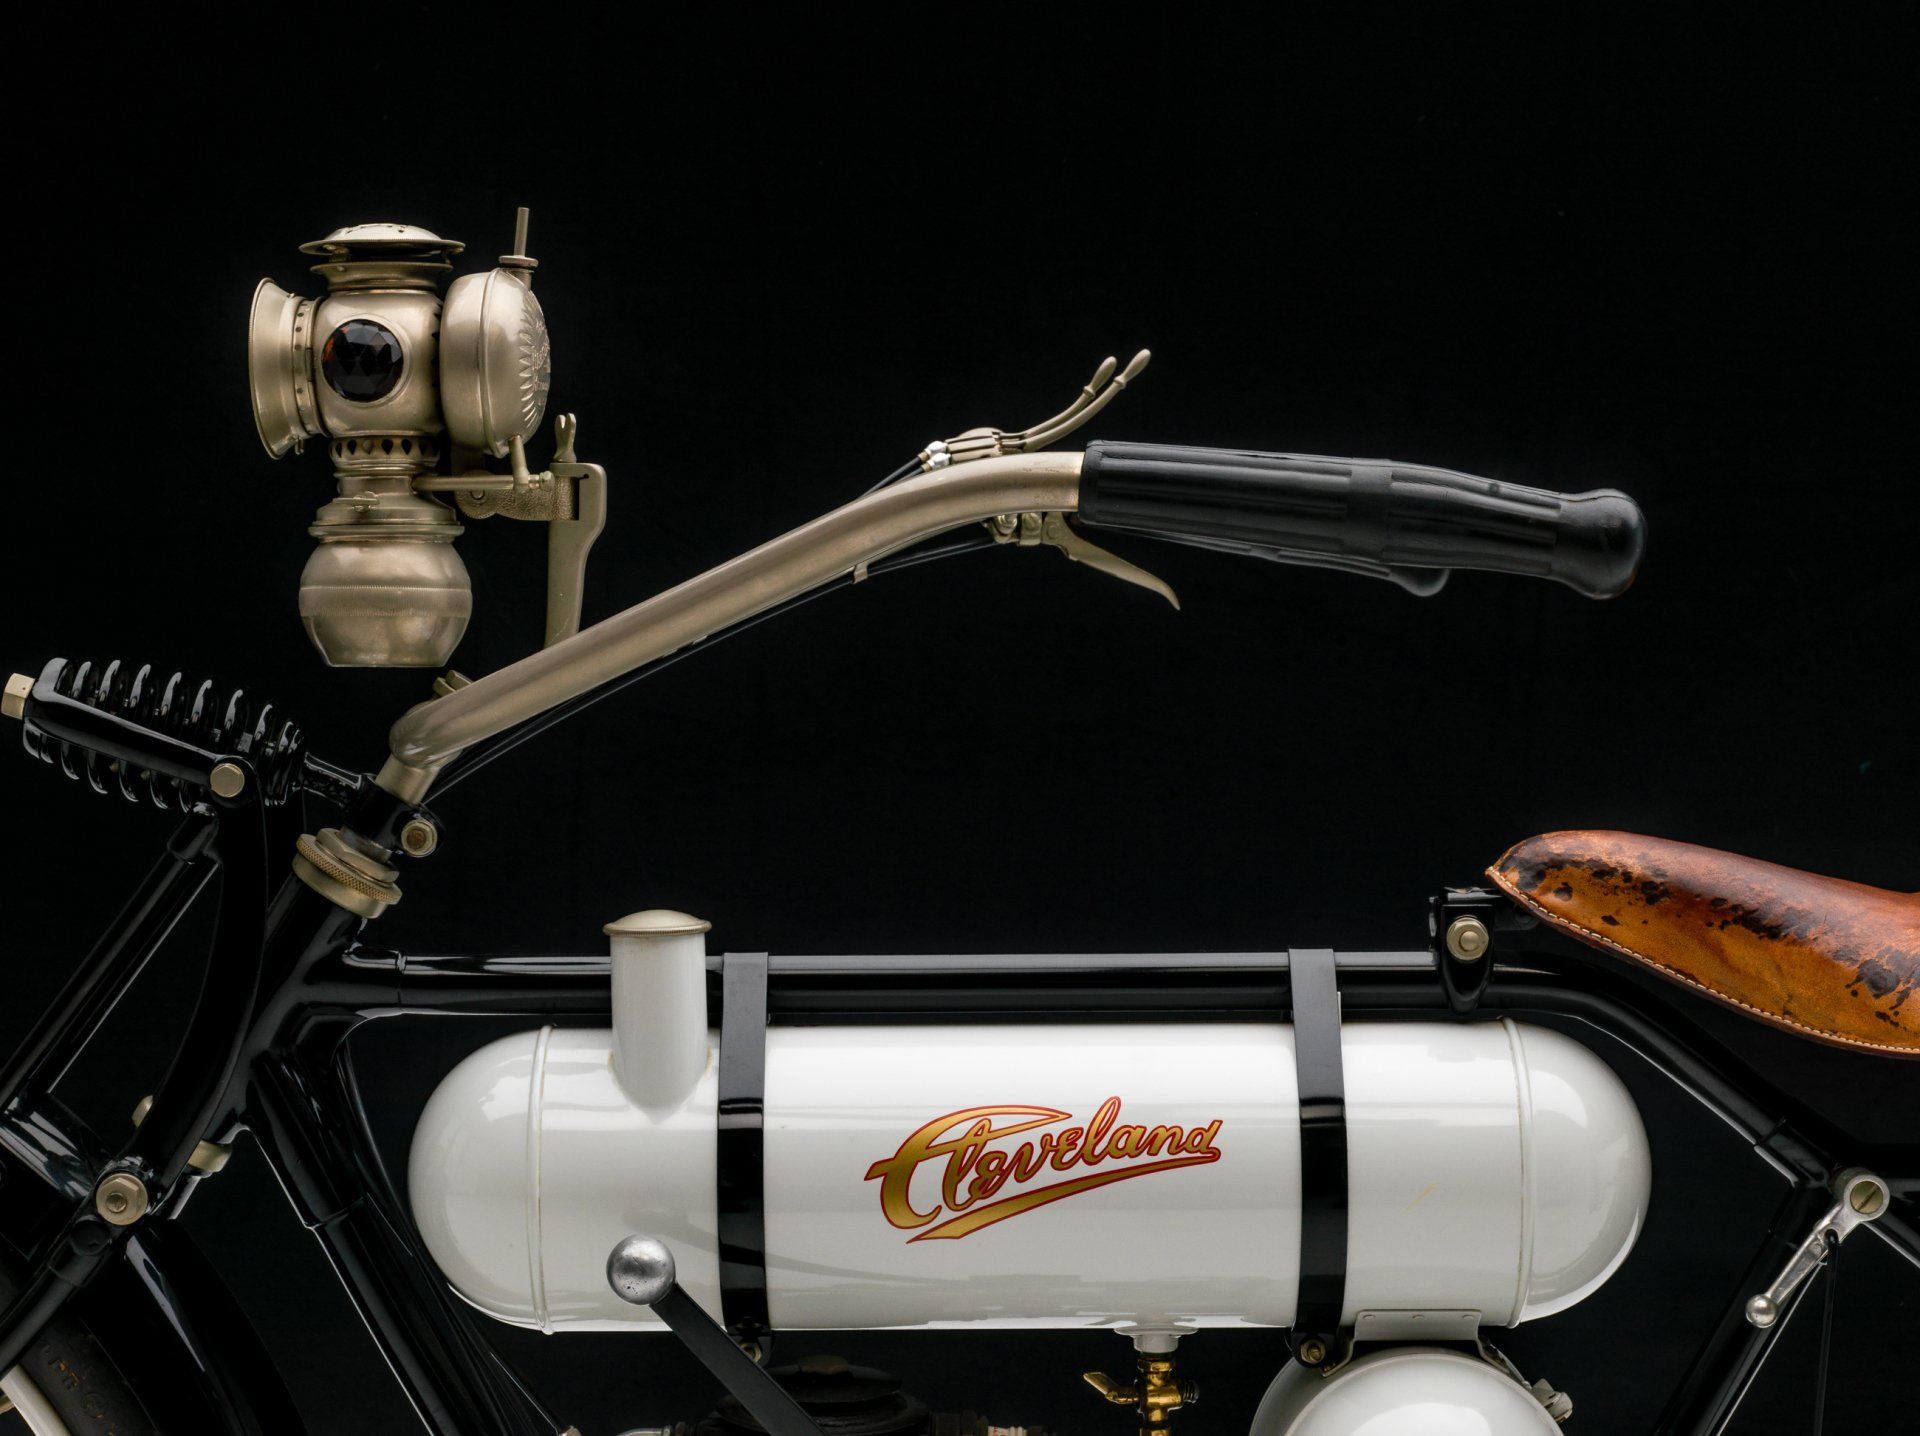
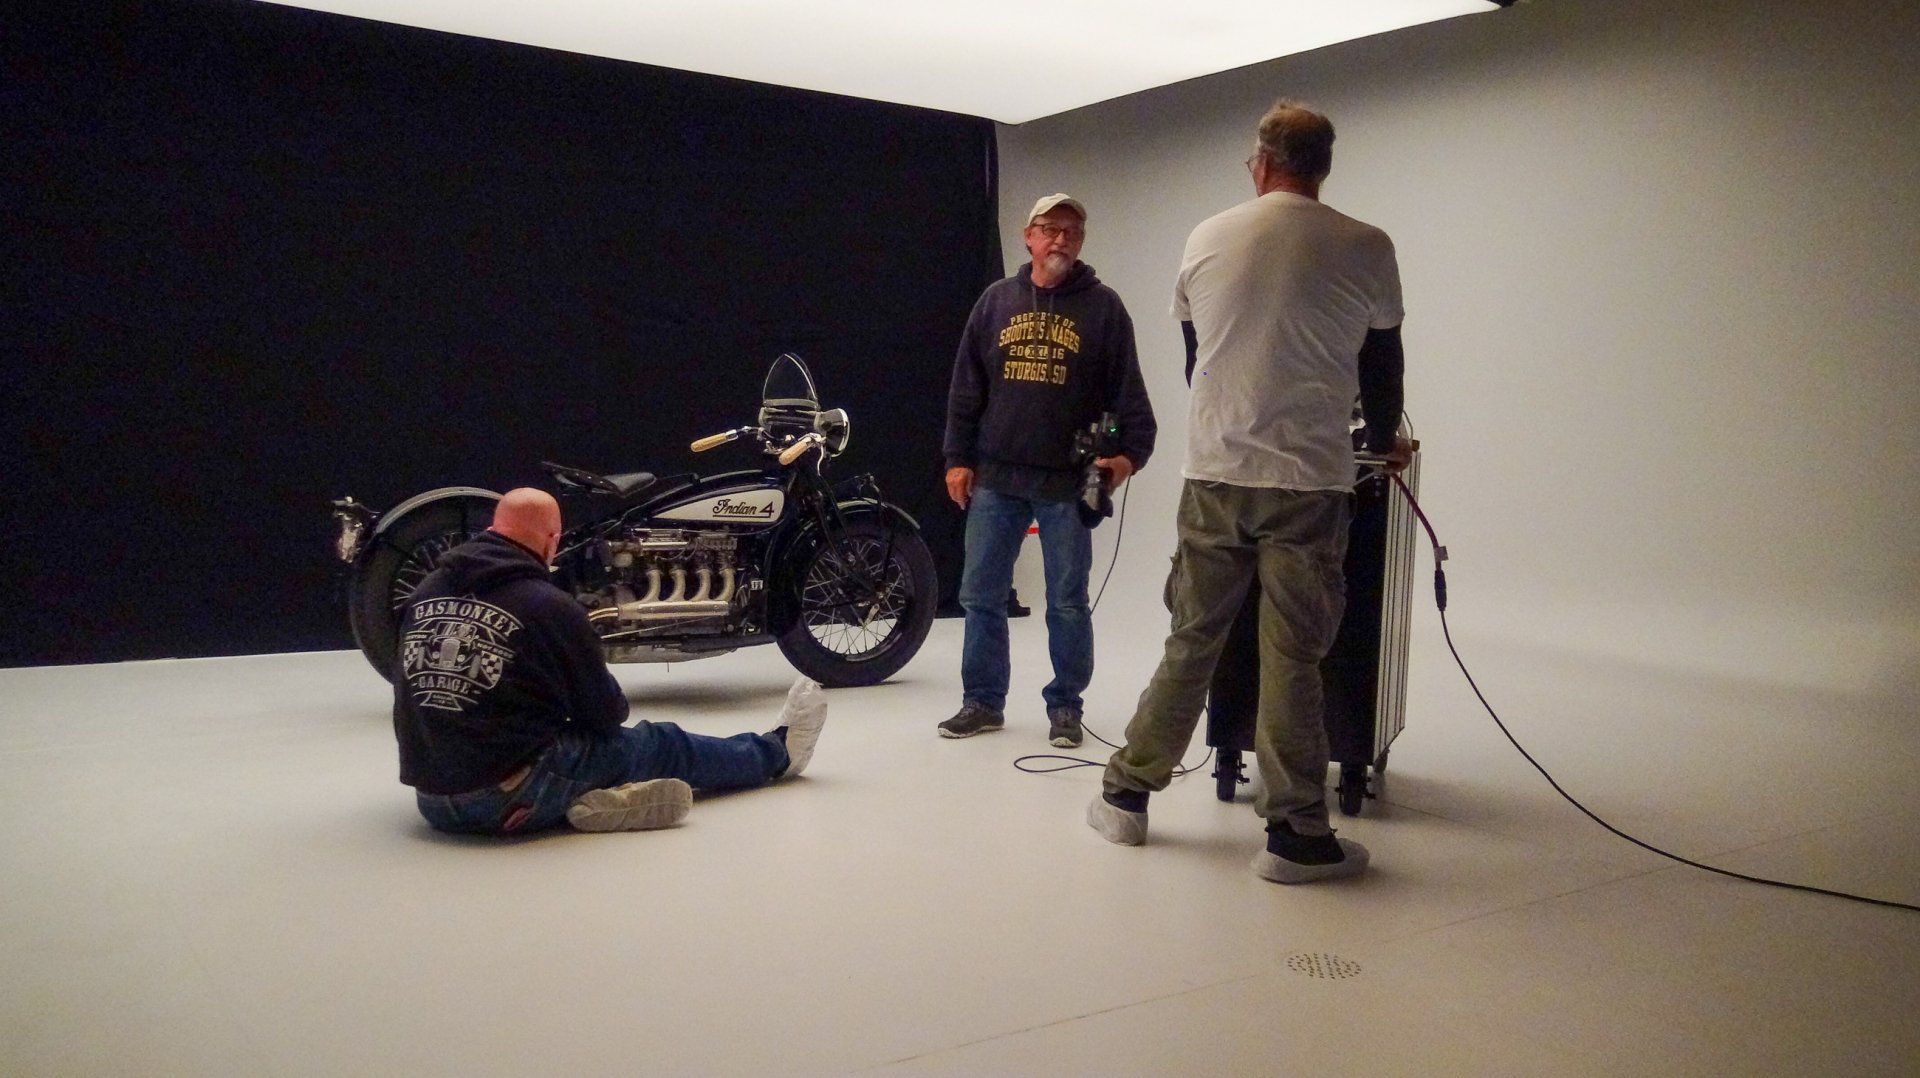
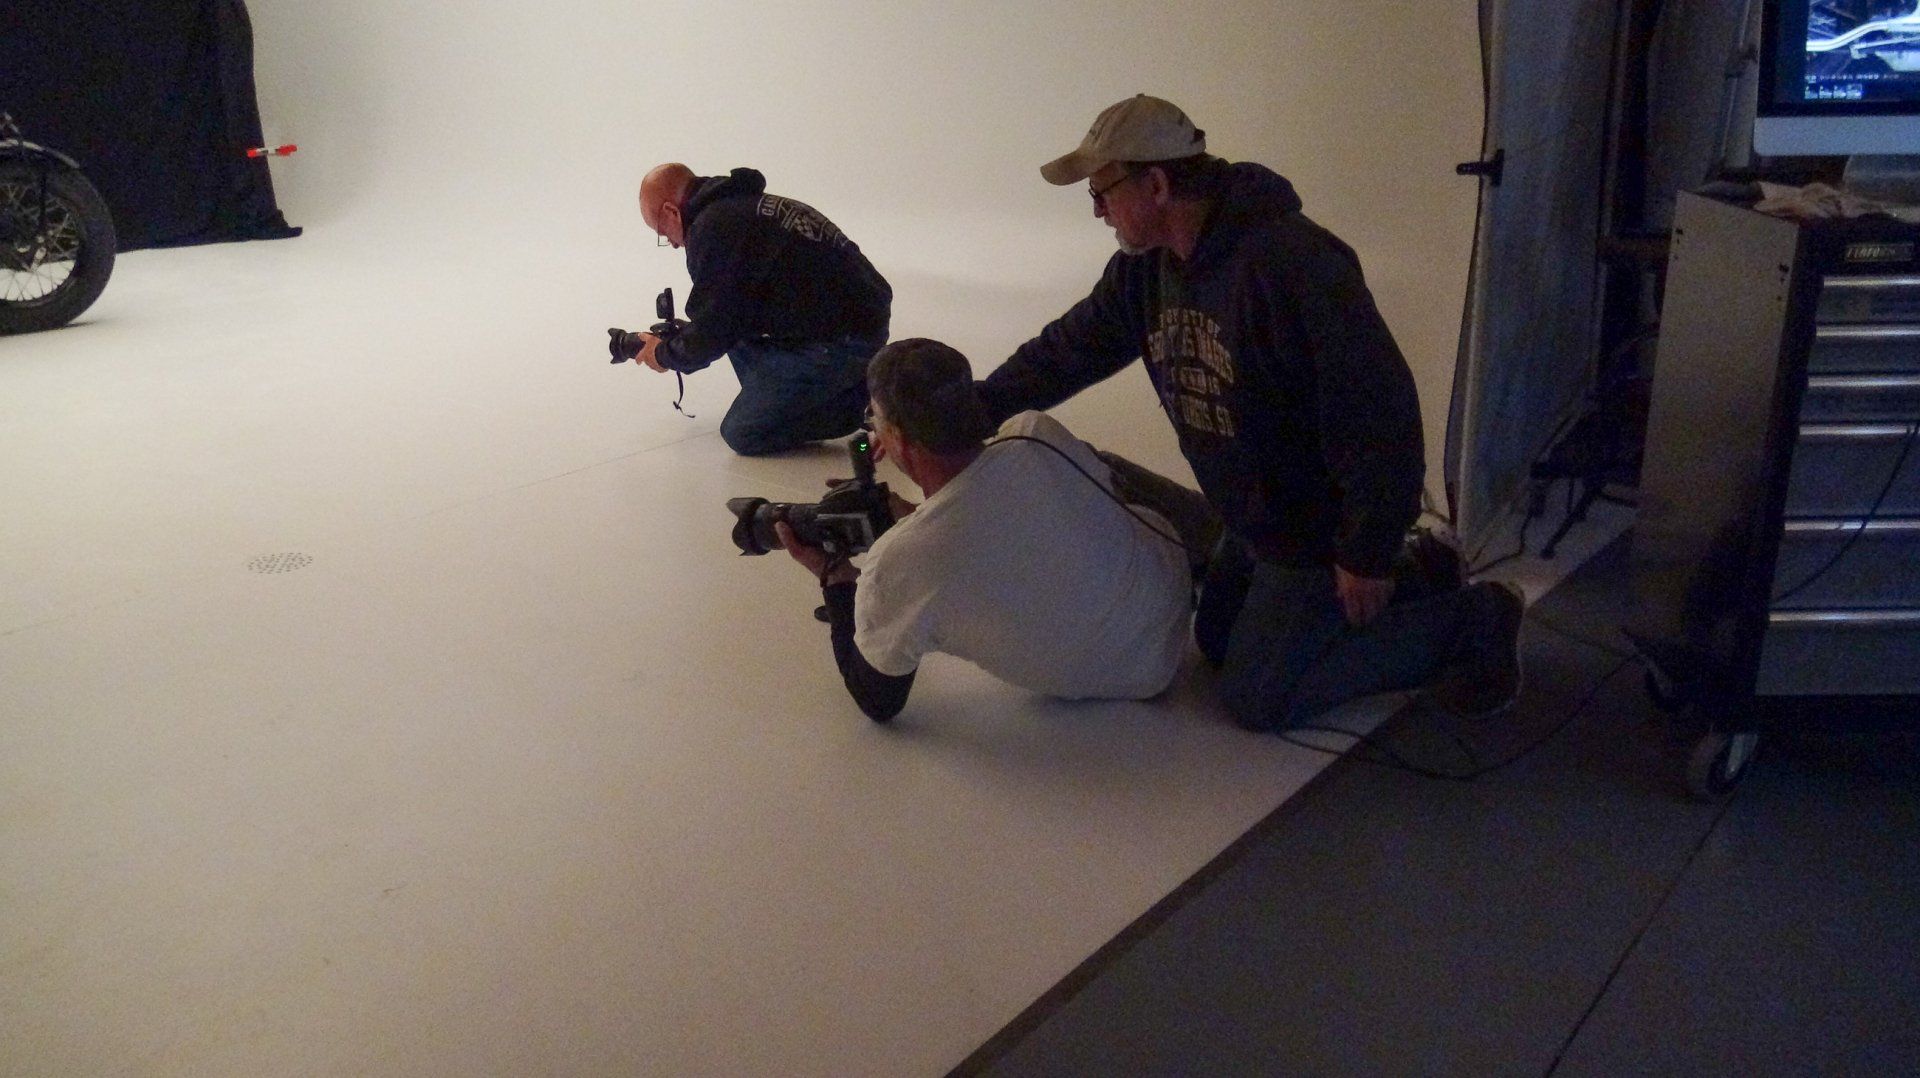
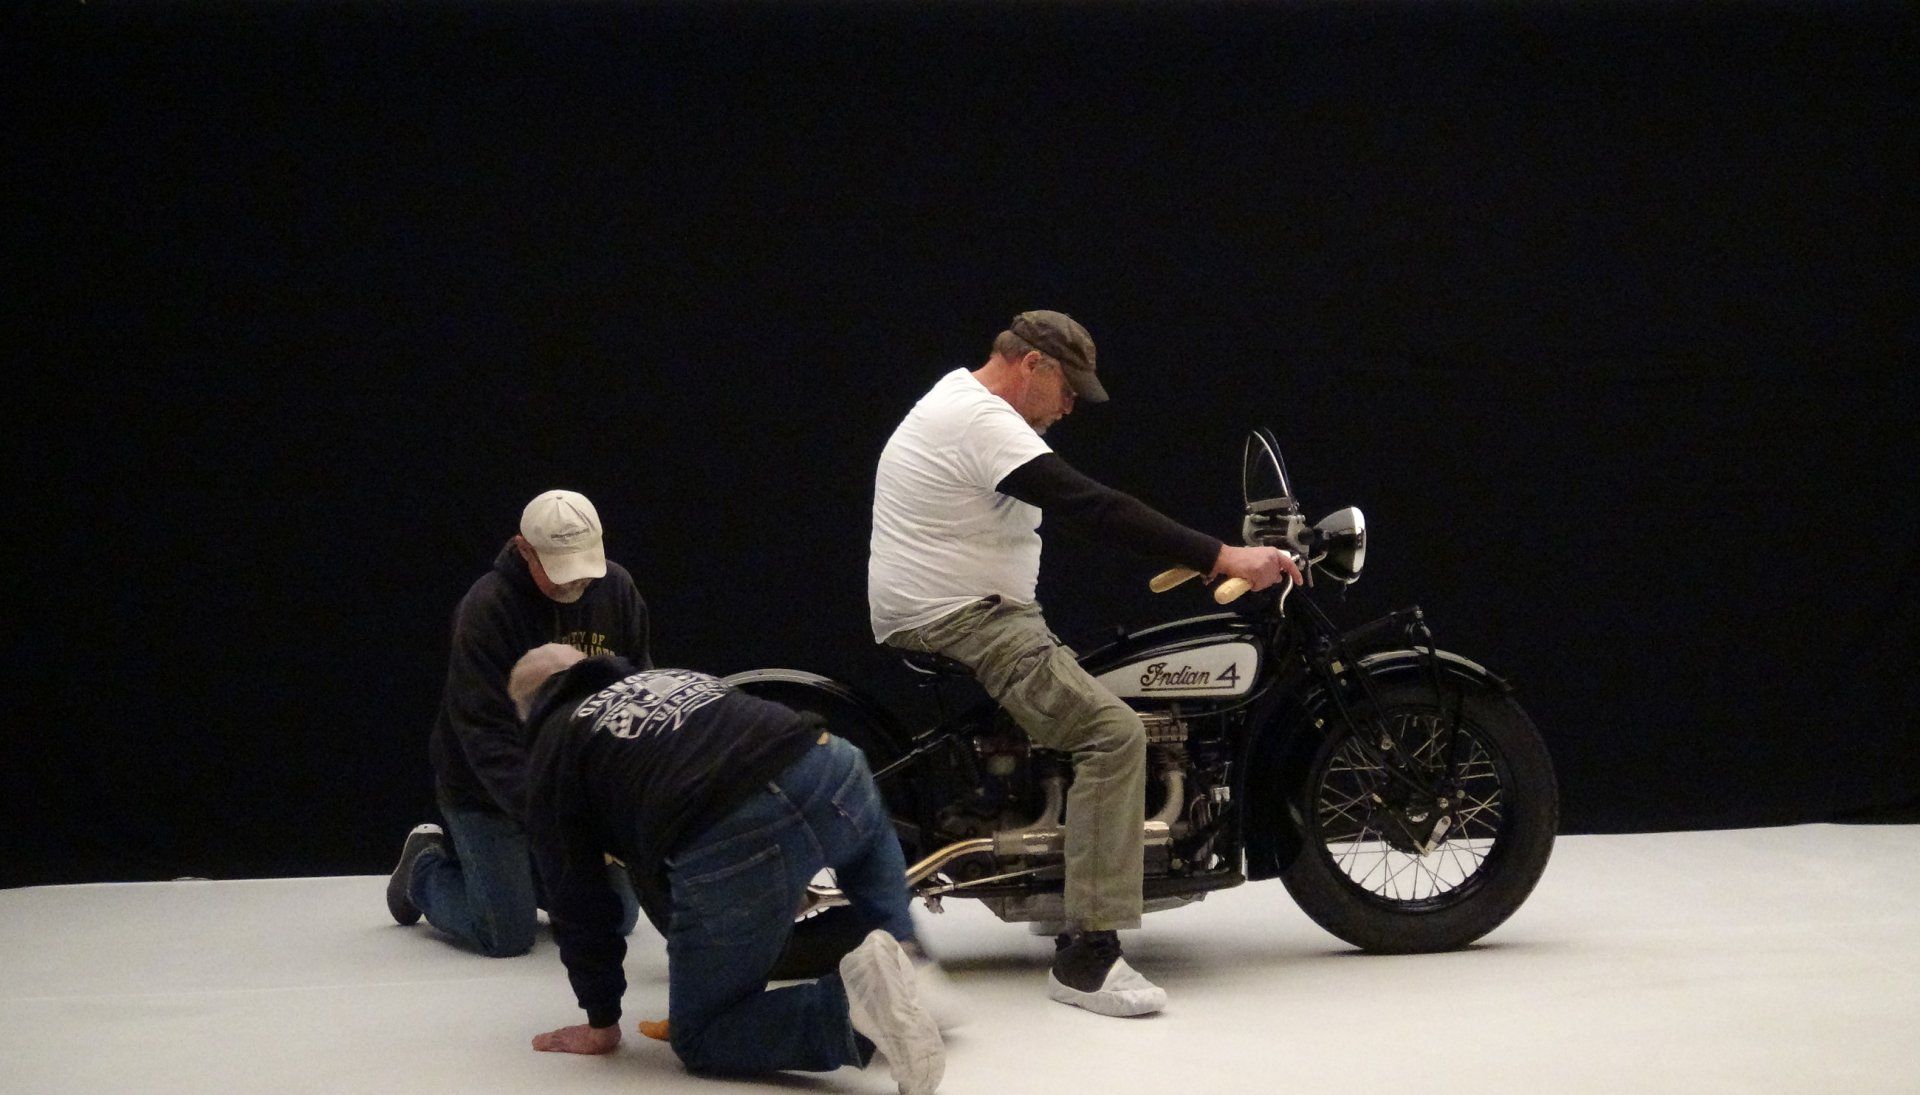
Each bike was rolled off the truck and into the studio where the first step was to give it a good cleaning and address any fluid leaks it may have (not good on a white studio floor!). We then studied the bike for unique details and, although it was mostly decided we would go for profile shots for the calendar, we had to decide which side was would shoot (usually we went ahead and did both sides as well as 3/4 front shots just to be safe.) The bike was then rolled on to the studio floor and placed under the lights where we again looked at all the details and how light was falling on various parts. We took about 25-30 shots per bike, utilizing different light modifiers to make sure we got all the details. Once satisfied that we had enough shots of the bike in that position, it was moved to a new position and shot again, changing lights/modifiers if necessary. All the while, after I had the shots I needed, the participants took turns shooting their own shots from their own perspectives and experimenting with camera settings and lights. Once all 5 of us had our shots from the necessary positions, the bike was rolled out and, by then, another bike had arrived and was waiting to be brought into the studio where the process would begin again. By the time the last bike came in, the participants had created a "well oiled machine" routine for efficiently and effectively shooting the bikes.
Most of the workshop participants had never been exposed to shooting in a studio environment. So, not only was lighting a challenge but also learning the proper camera settings became a critical learning point. Understanding the differences between DSLRs and mirrorless cameras in the studio were addressed. And, like everything else, integrating and operating computer software in the studio for tethered shooting and light control had to be considered as well. All-in-all the participants walked away with some valuable information and skills along with some great shots of these rare machines. The experience also provided insight into the tremendous amount of work and attention to detail involved in studio shooting.
From my end, the participants' assistance was invaluable, as those extra "sets-of-hands" and different perspectives freed me up to concentrate on the task at hand which was getting beautiful shots for the calendar.


Video Clip
This video is a combination of dozens of clips and gives some behind the scenes views of the shoot over 2.5 days. While certainly not professional footage, it illustrates the preparation, shooting, and overall studio environment of this shoot/workshop.